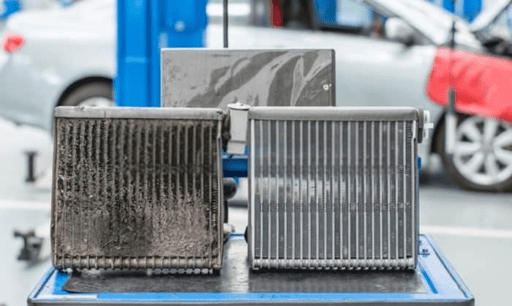
While selecting a time and date for my car’s yearly maintenance, the dealership offered to have my air conditioning system disinfected. At first, I thought this was more of a money-grabbing scheme more than anything. But I have, since then, learned, that air conditioning systems can become nasty. Very, very nasty. They can become breeding grounds for mildew and bacteria, which then spew into the passenger cabin whenever the air conditioning is used. This is accompanied by a rather unpleasant odour. It is at this point when you want to give your AC’s evaporator a thorough cleaning.
For the low-low price of about a hundred bucks or so, you can pay your dealer (or other reputable places) to do the AC evaporator cleaning for you. However, with only a little effort, you can do it yourself!
Your Car’s AC
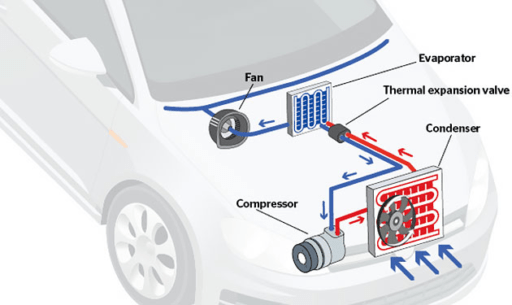
A car’s air conditioning system works just the same as any other air conditioning system. (Check out my article on how to make monobloc air conditioners more efficient, where I go into more detail). It is in the end nothing more than a heat-pump, which are all built more or less the same. This article focuses on one particular part, however, the evaporator core.
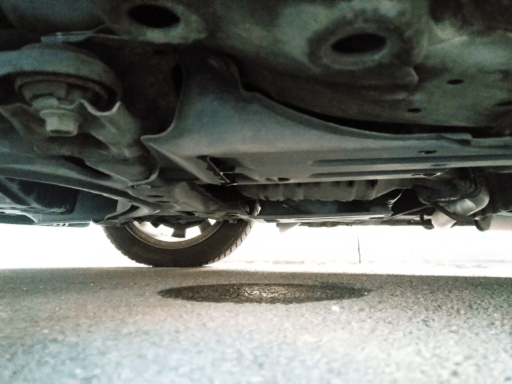
The evaporator core gets its name from the fact that the coolant within it evaporates, creating a chilling effect which cools it down. The fan blows air through it, which cools down and then transported into the car’s interior. It is usually hidden beneath the centre dash console and an absolute pain in the perineum to get to. As mentioned earlier, this process also causes water in the air to condensate. It is collected in a drain pan below the evaporator and drained out of the car through a drain hose. This is also the reason you can sometimes see a car leaving a wet spot behind during the summer.
Cleaning Options
To prevent the build-up of mildew and other unwelcome guests in our evaporator core, it is recommended to clean it about once a year, preferably before the first use of the AC system of the year. This is done by using a disinfectant, of which various kinds exist. As with many things, a niche product market exists solely for this task alone. There are a few different kinds with their benefits and drawbacks.
Cabin Spray Cans
These are little aerosol cans filled with a disinfectant. They’re essentially bug-bombs for your car. The idea is that you turn them on, toss them into your car and close your doors and windows with your AC on full blast. The air, now filled with the disinfectant, circulates through your AC (and everything else), disinfecting it.
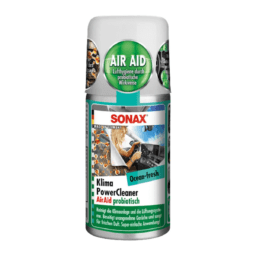
In my experience, however, they’re at best a band-aid solution. The one I had was a pain to use, and due to its “hands off” approach, I cannot imagine it can clean an evaporator coil thoroughly.
Direct Application Disinfectants
A far more thorough and efficient way is the use of disinfectants that are applied to the evaporator coil directly. They come with a long those that can then be snaked through the air vent ducts straight to the evaporator, where their disinfectant and cleaning solution can work directly.
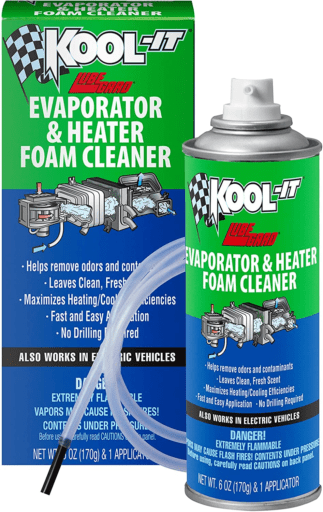
That is what I ended up using instead. I used this particular one, though I’m sure you can get similar results with about any other, as the chemistry is a fairly simple one. For this to work, however, you need to employ a little more effort.
How To
In this article, I explain the process of disinfecting the evaporator coil in a 2013 Toyota Yaris made for the German automotive market. The process should work for any Toyota Yaris model made between 2008 and 2017, and the gist is the same for essentially every car that has an AC.
When trying to figure out how to do this, I basically found two common ways of doing this job. The first employs the use of the drain hose, the second that of air vents. The drain hose method is usually done by hoisting the car on a lift and inserting the disinfectant spray hose into the drain hose, spraying the evaporator coil from below. I think this method is flawed for three reasons.
- You need a method to lift your car, which I do not have.
- You work against the flow, spraying the evaporator coil from below, making deep penetration of the core difficult.
- The disinfectant will obviously want to flow back out the drain hose it just came in from. You will have to seal the hole you spray into somehow, but this will likely still make a mess.
My method uses a combination of the two, without having to lift the car.
Accessing The Evaporator Core
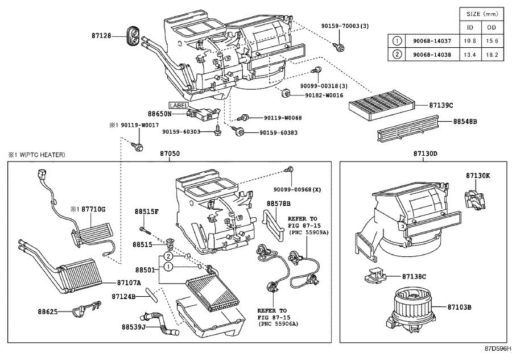
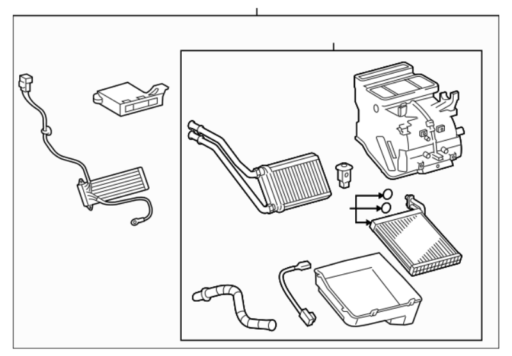
First, here is a schematic of the A/C system of a Toyota Yaris.
As you can see, the case containing the evaporator coil (Code 88501) sits right next to the cabin air filter and fan housing. To access it, you need to remove the glove box, a process which is necessary anyway when exchanging the cabin air filter, which I recommend doing at the same time. Toyota has a thorough and pictured guide that you can find here.
Attention!
Some cleaning agents aren’t a particular joy to inhale, so ideally do this with your car’s doors opened up, so you’re not inhaling too much of the fumes.
After removing the glovebox and removing the filter from its housing, it should look something like this:
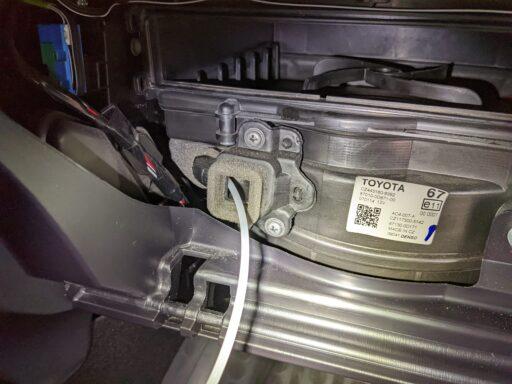
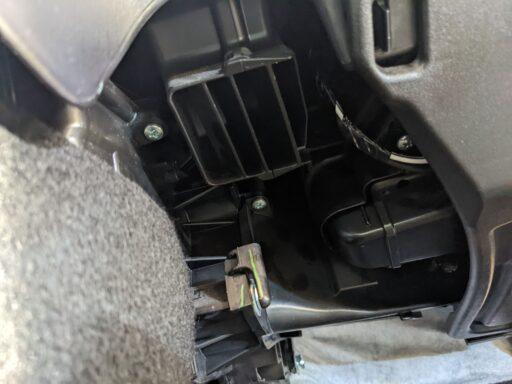
Here you can see a convenient feature of my particular model: An air hose that vents cold air from the AC into the glovebox. It leads straight back to the evaporator core, so an ideal method of deploying the disinfectant. The hose can be snaked down the hose easily. If your model lacks this particular vent, you can also use the floor vents on either side. Don’t forget to set your vents to the right setting, so you can actually reach the evaporator core with the hose!
Clamping The Drainage Hose
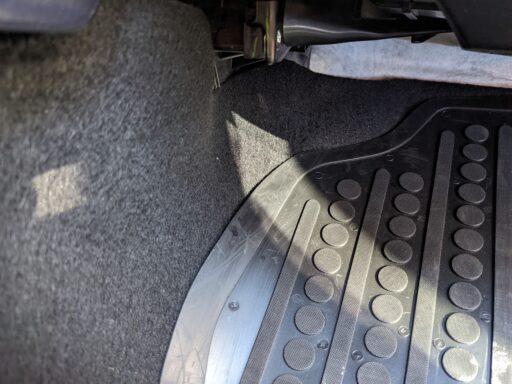
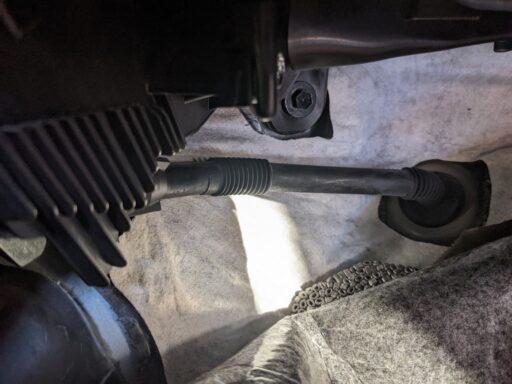
Before spraying the disinfectant, however, I did one more thing to make the cleaning process more thorough. We’ll make use of the drain hose after all – but for a different reason. Below the passenger side carpet is the drain hose (photo follows). It is made of soft rubber – clamp it! This prevents the disinfectant from draining out, essentially making sure the evaporator gets a nice bath inside the disinfectant. Careful though, too much and some of it might leak! I suppose airtight does not mean water sealed.
AC Evaporator Cleaning
Anyway. Now you can simply follow the instructions given on the cleaning product of your choice. You should give it about ten minutes or so for the cleaning agent to do its job. If you’ve used something apart from your hands to clamp the drain hose, you can now use the disinfectant on the rest of the air vents. Simply push it in as far as it will go, spray and slowly pull the hose back. This way, you’ll coat as much as possible. Also give the cabin air filter case and blower a good spray of disinfectant. After the 10 minutes are over (or you’re finished disinfecting the rest of the vents), release the clamp and let the cleaning liquid drain. It’ll harmlessly drain onto the ground below the car.
The Clean-up
Replace the cabin air filter and close it back up like given in the official Toyota instructions. Run your AC on full blast for a few minutes to dry the evaporator coil (with the AC disabled).
Congratulations! You’re done!
