433 MHz Devices in Home Assistant with Sonoff RF BridgeR2
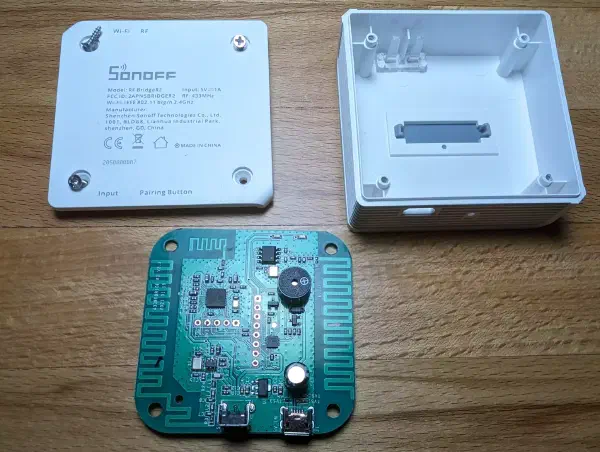
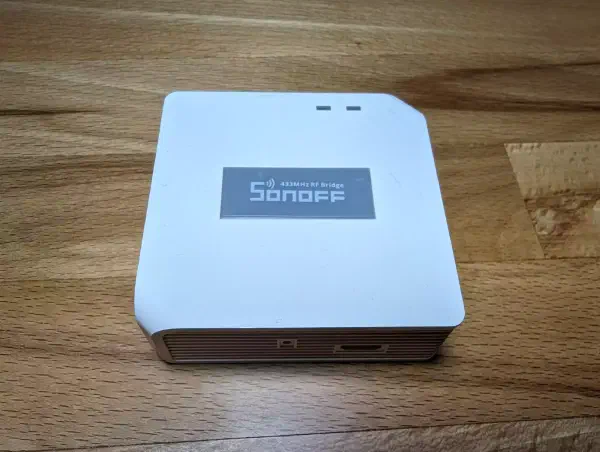
Welcome to the second part of enhancing our smart home with 433 MHz devices. We’ll delve into adding and tracking the state of these devices via your Sonoff RF BridgeR2, which you’ve already successfully integrated into Home Assistant, as discussed in our previous article. With the bridge in place, we’re poised to explore the next level of control and monitoring for your home automation setup. Integrating the RF device into Home Assistant. # Capturing the RF commands # We need the device we want to add to home assistant. The main purpose why I started this whole project was to add my ceiling fan, which is one of the more complex things you can add via an RF bridge, as many states can depend on each other. First you need to get the RF source, in this case the remote: