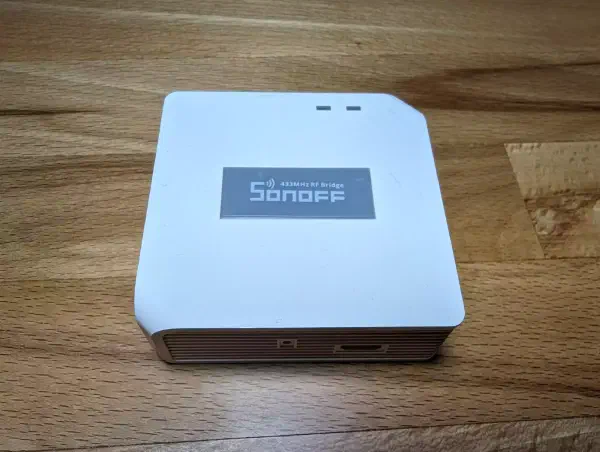
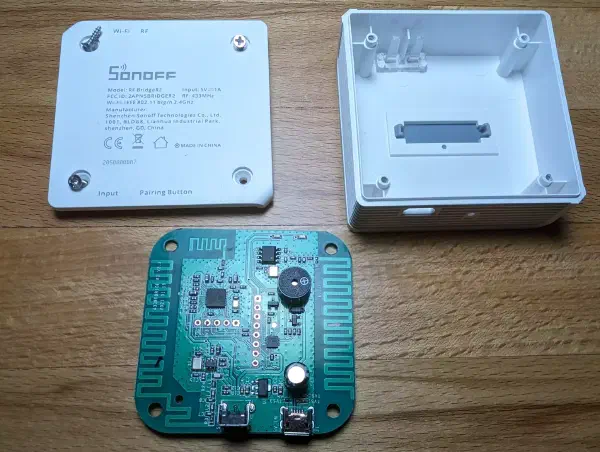
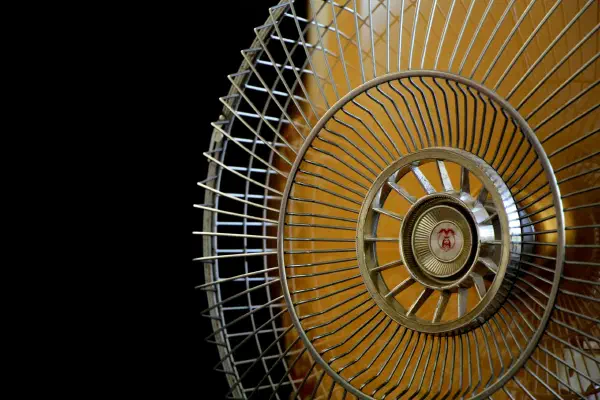
Welcome to the second part of enhancing our smart home with 433 MHz devices. We’ll delve into adding and tracking the state of these devices via your Sonoff RF BridgeR2, which you’ve already successfully integrated into Home Assistant, as discussed in our previous article. With the bridge in place, we’re poised to explore the next level of control and monitoring for your home automation setup. Integrating the RF device into Home Assistant. # Capturing the RF commands # We need the device we want to add to home assistant. The main purpose why I started this whole project was to add my ceiling fan, which is one of the more complex things you can add via an RF bridge, as many states can depend on each other. First you need to get the RF source, in this case the remote:
Introduction # Bridging the gap between legacy devices and cutting-edge technology is a fascinating endeavour. If you’ve ever wanted to integrate your 433 MHz remote-controlled devices into your smart home ecosystem using the Sonoff RF BridgeR2, you’re in the right place. In this article, I’ll guide you through the process of flashing the Sonoff RF BridgeR2 with ESPhome, to make it vendor-independent and easily integrable into Home Assistant. Warning A Caution Against Cheap 433 MHz Modules
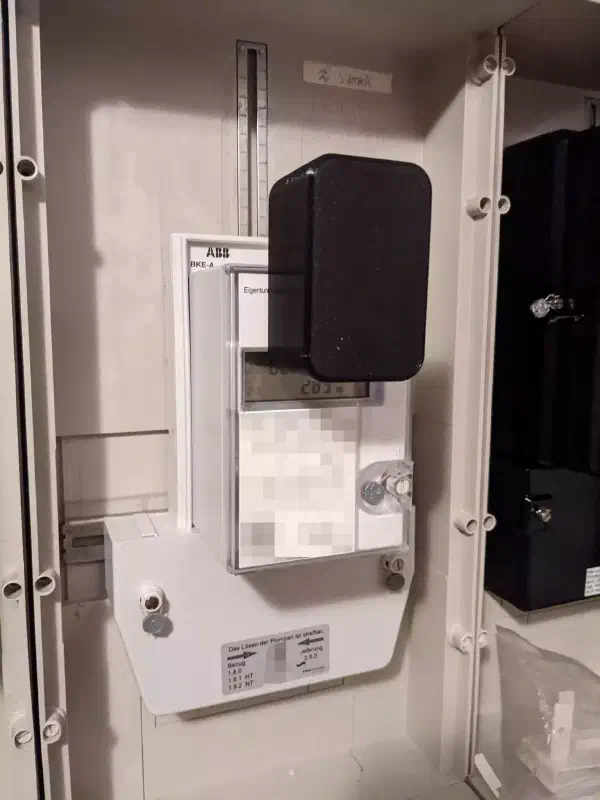
You can integrate your electricity meter into home assistant easily and cheaply using ESPhome and some cheap sensors. Here is how I added my parent’s solar panel electricity meter to home assistant. My parents installed solar panels onto their home nearly 15 years ago. Until very recently they had an old ferraris meter in their basement and apart from that, had no idea how their solar panels performed. They can technically be made smart too using a reed sensor – but that’s for another time. After a new smart meter had been installed – but without my parents getting any access to it directly – I figured it’s time to take things into my hands!
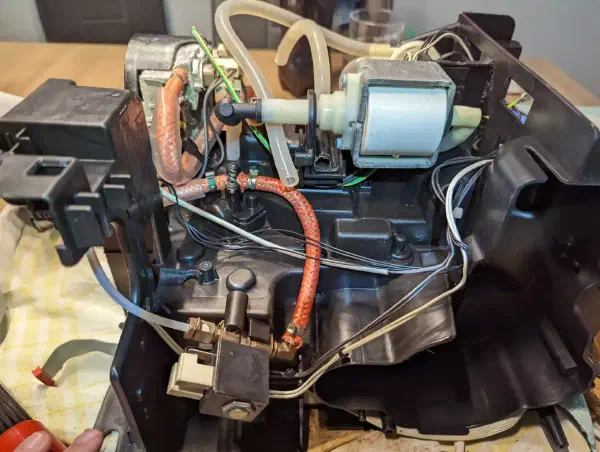
The coffee machine, a Saeco Incanto HD8917/01 worked diligently for 10 years, and a few days ago it decided to display an odd behavior: Whenever it was requested to produce some bean squeezings, it’d shut off. It’d start normally, you could browse the menu — but the moment it started to do some work, it shut off.
At first, I expected some sort of jam — in my mind, a jammed electric motor could draw so much current that the voltage drop could cause the IC to reboot. I removed the brewing unit, gave it a thorough cleaning and lubricating — but same result.
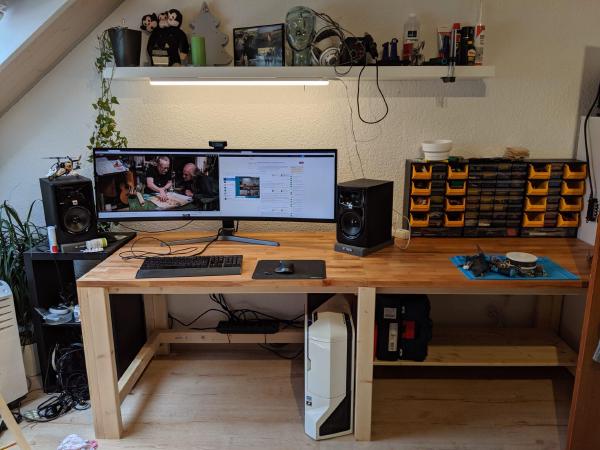
Workbenches! Everyone wants them. Everyone loves them. They’re the bee’s knees; but also hella expensive! At least when you want something sturdy, and not made from paper maché like the majority of tables sold by Ikea. So I figured — why not make my own? How hard could it possibly be? The Why # I needed a workbench. You’re supposed to learn from your mistakes, but it took me several purchases of Ikea tables to learn that they really don’t last even common office use. I don’t even mind that they’re made from honeycomb shaped paper, hopes, and wishes. Unless you drop something big and heavy on them (like I did), they’re fine. But even their damn coating rubs off after not even a year of regular use.
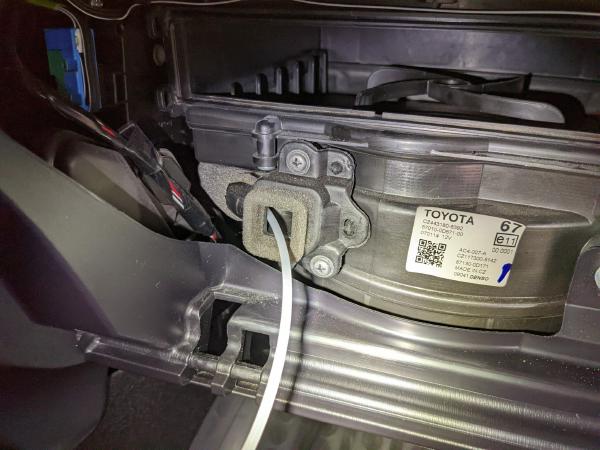
While selecting a time and date for my car’s yearly maintenance, the dealership offered to have my air conditioning system disinfected. At first, I thought this was more of a money-grabbing scheme more than anything. But I have, since then, learned, that air conditioning systems can become nasty. Very, very nasty. They can become breeding grounds for mildew and bacteria, which then spew into the passenger cabin whenever the air conditioning is used. This is accompanied by a rather unpleasant odour. It is at this point when you want to give your AC’s evaporator a thorough cleaning.
Ducted, portable air conditioners suffer from terrible efficiency inherent to their design. Here is how they work and how to improve portable air conditioner efficiency. Portable (Air-to-Air, Monobloc or Ducted) Units # If you, like many others, find yourself unable to install a split or central air conditioning system due to rental agreements or insulated windows, your options for cooling are limited. Portable air-to-air units, despite their convenience, come with a significant design flaw that compromises their effectiveness. In this article, we delve into the drawbacks of these units and shed light on the inherent problem that plagues 99% of the available commercial models.
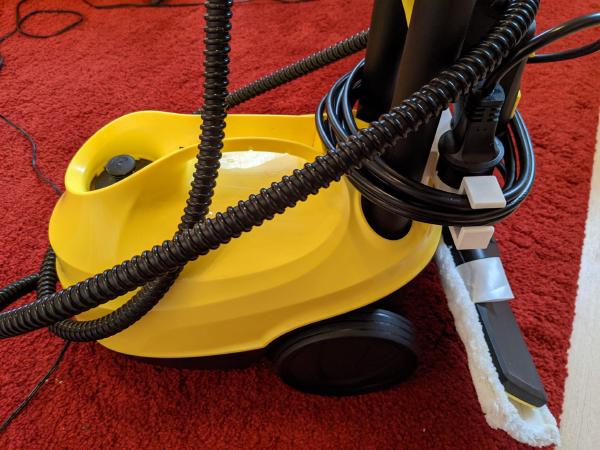
I’ve nearly completed the first semester of my two-semester CAD course at my university, and now for the first time have started to feel comfortable enough to use these newly acquired skills to design things that have a real-life application. That is how a 3D printed Kärcher SC3 Power Cable Holder became my very first functional CAD and print.
The Problem # My parents own a Kärcher SC3 EasyFix steam cleaner, and one of her most common complaints was the inability to store the power cable of it satisfyingly. The cable would dangle around when carrying the device and be an overall nuisance. I mulled the problem over in my head somewhat, starting as to where one could even securely attach an accessory to an object that consists of smooth, curved plastic surfaces.
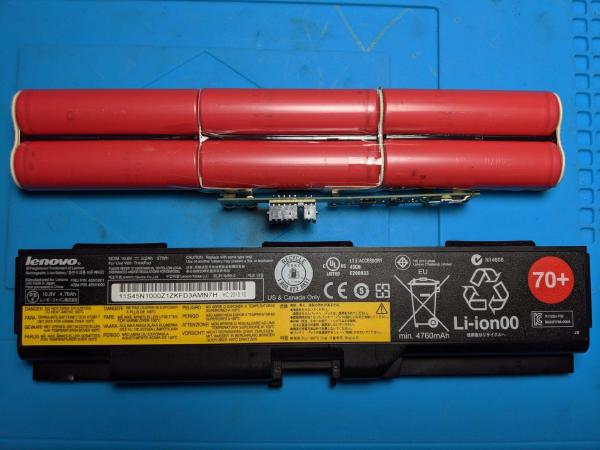
When you work on electronics projects, chances are you will need a mobile power source some time down the line. There is a plethora of options, meeting any need imaginable. If you’re on a tight budget you can even try making your own Li-Ion battery! But what if you’re on an even tighter budget, and/or want to do something for the environment? Then I suggest harvesting Lithium-Ion cells from used batteries! Warning Attention! Now, before you go poking and prodding old battery packs, keep in mind that batteries first and foremost store power. Power in the form of chemical reactions that can react violently if given the right (or wrong) conditions. If you do decide to do this, make sure to wear proper personal protection equipment, and have a place where you can dispose of the battery immediately, should it catch fire.
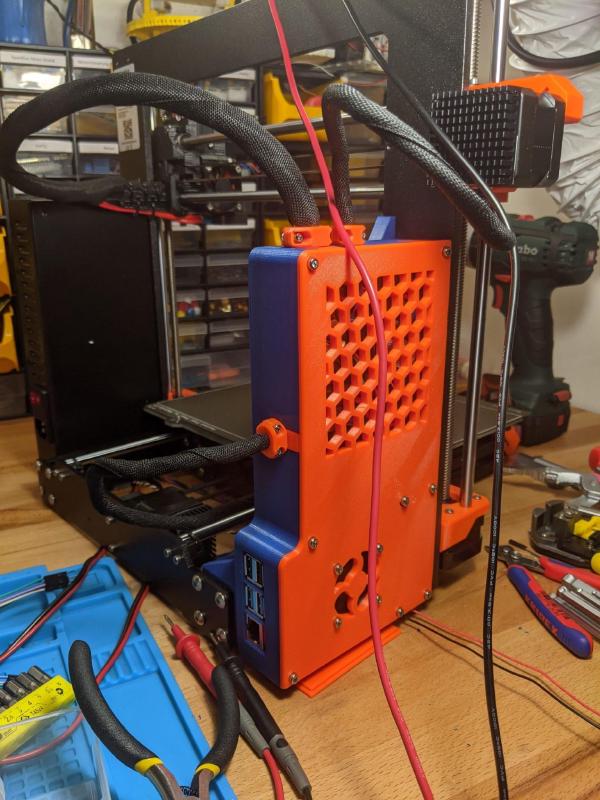
Running a Prusa i3 MK3S with Octoprint definitely improves the overall printing experience. You can quickly upload print jobs from the slicer and check on the printing process remotely. Prusa even has a guide on how to install a Raspberry Pi Zero W directly onto the EINSY board. However, the little board struggles to run Octoprint and in some cases it can even cause layer shifts that ruin a print entirely! Doing a Prusa i3 MK3S Raspberry Pi 4 Upgrade is a little more effort, but absolutely worth it.