You can integrate your electricity meter into home assistant easily and cheaply using ESPhome and some cheap sensors. Here is how I added my parent’s solar panel electricity meter to home assistant.
My parents installed solar panels onto their home nearly 15 years ago. Until very recently they had an old ferraris meter in their basement and apart from that, had no idea how their solar panels performed. They can technically be made smart too using a reed sensor – but that’s for another time. After a new smart meter had been installed – but without my parents getting any access to it directly – I figured it’s time to take things into my hands!
How to make your meter smart
If you’re lucky, your meter, or in case of a solar panel installation, your inverter is already smart and lets you access it easily via an API or web interface. If you don’t belong to that group of people, like me, there are some other ways you can go about.
Off-the-shelf Solution
The easiest, most integrated and probably the best solution is to use a Shelly 3EM CT clamp sensor (affiliate link if you think about buying it, it keeps the lights on 😊). You can measure up to 4 cables, which include voltage, power, frequency and much more. They also effortlessly integrate into Home Assistant and are supposedly an all-around great solution.
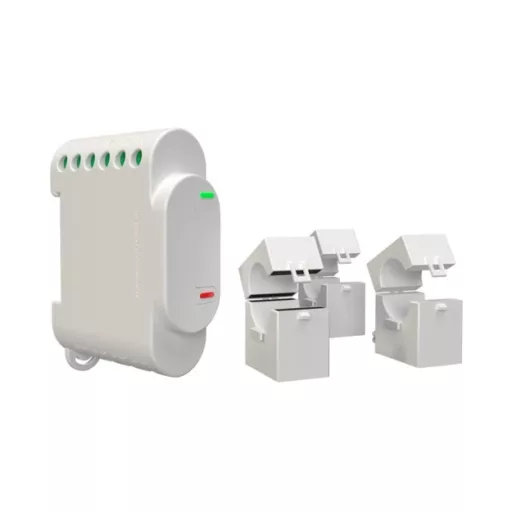
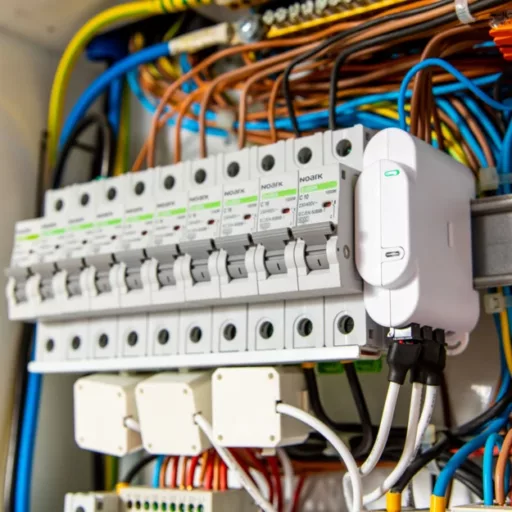
The cons would be that you actually need to wire them into your meter box. You should only do so if you know what you’re doing, and also keep in mind something like voiding your warranty or insurance if you add strange third-party devices to your meter box. That wouldn’t stop me personally, but as a student, I’m currently rather broke – so the price tag of 120 bucks is keeping me from splurging on it.
DIY CT Clamp sensor
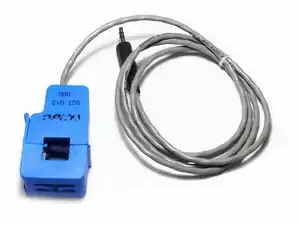
You can basically build the Shelly 3EM yourself using an ESP microcontroller and CT clamps sourced from your trusted electronics retailer. As this not only has you rooting around in your electricity meter cabinet, but combines microcontrollers with mains voltage, the advice “only do this if you know what you’re doing” goes double. While likely significantly cheaper, I opted against this. Especially because of the third option.
DIY Pulse Counter
If you have a smart meter – but just no access to it – there is still hope. Many modern meters have a pulse emitter, that sends pulses corresponding to the power running through the meter. We can simply count these pulses and have what we need! Shout out to klaasnicolaas and his Home Assistant Glow project.
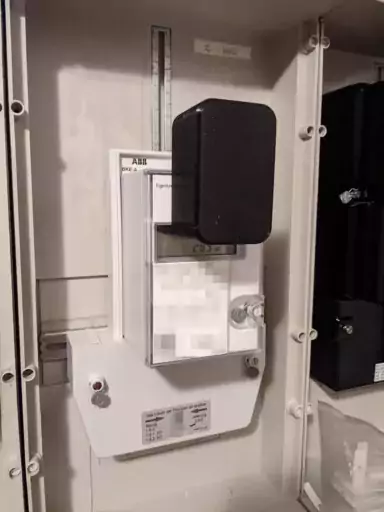
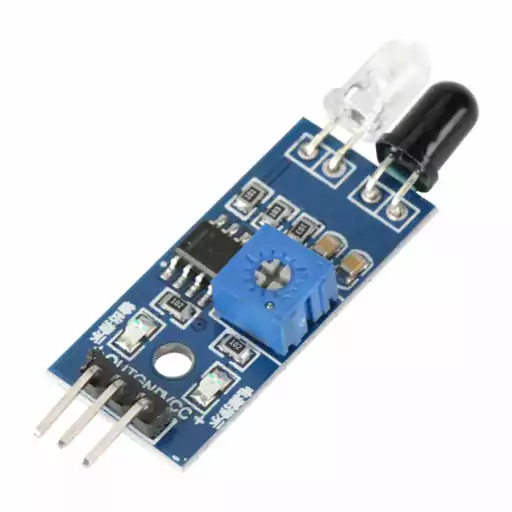

The obvious upside is that this is not only really cheap (you basically only need an ESP32 and a light sensor, you can get for a few cents). You also don’t need to go anywhere near mains voltage power lines! You simply attach the sensor with some double-sided tape and you’re golden.
Apparently, this is even an option if you have a ferraris counter. You can count the turning of the disk utilizing a reed-switch sensor, but I haven’t been able to try this myself.
Building a Pulse Counter
Because the smart meter sends the pulses in the IR range, I opted to use some obstacle avoidance sensors I already had at hand, whose sensors are tuned to the IR band. Note that this probably works with nearly any light sensor, so a photoresistor should work as well.
Initially, I had planned this build to use a lipo battery, but after rather disappointing battery life I went with the USB powered option. Here’s what you need:
| Item | Where to Buy (Affiliate Links) |
| ESP32 Microcontroller | Amazon.com |
| Obstacle Avoidance Sensor / Light Sensor | Amazon.com |
| Dupont Jumper Wires | Amazon.com |
| Soldering Iron/Station | Amazon.com |
| Solder | Amazon.com |
| Side Cutter | Amazon.com |
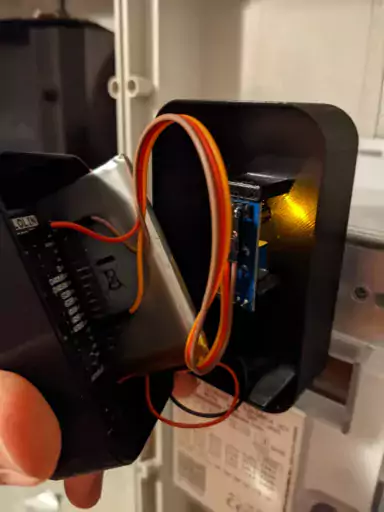
This build is straightforward. Since I used the obstacle avoidance sensor, I removed the LED that emits IR light and bent the LED that senses the IR light upward.
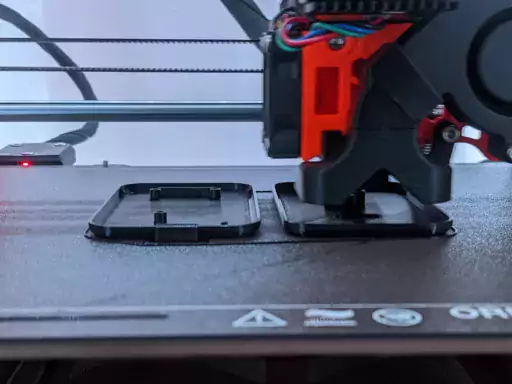
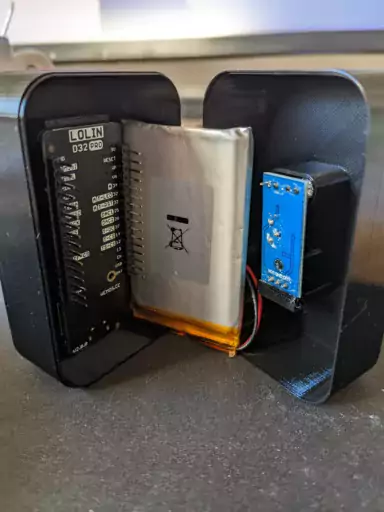
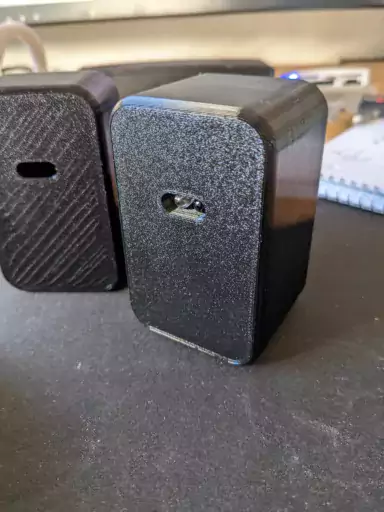
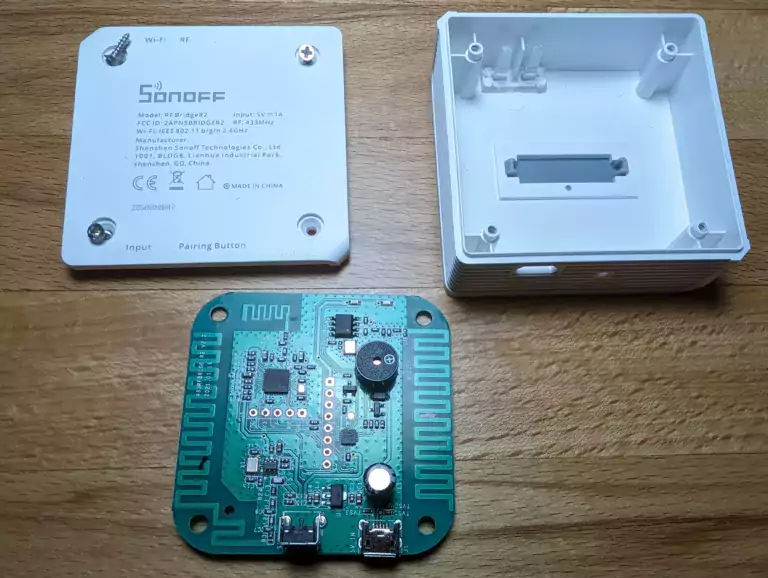
I printed a case for mine, which ended up a lot larger than really necessary. Still, the components fit perfectly and you can find it here on printables. I’ll probably design a smaller case when I can make myself do it.
Configure and install the sensor.
First, set up the microcontroller using ESPhome. ESPhome is a system to control your ESP8266/ESP32 and RP2040 by simple yet powerful configuration files and control them remotely through Home Automation systems. You can do so directly from Home Assistant or using your local computer.
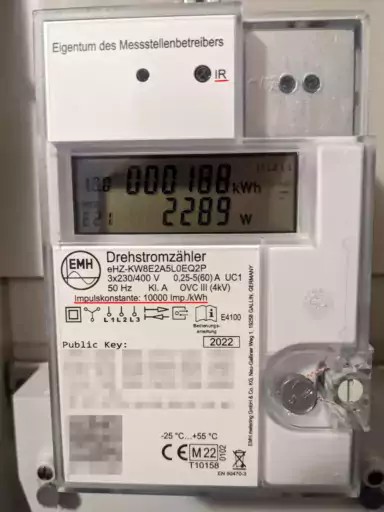
To configure the sensor, we use the pulse counter sensor component. I chose to send my value in Watts, hence why my multiplier is 6 (60s/10000 pulses per kWh) and why my accuracy_decimals is 0. If you want to send it via kW instead, use a multiplier of 0.006 and 3 accuracy decimals. Here’s the significant sensor configuration:
sensor:
  - platform: pulse_counter
    id: pv_pulse_counter
    pin: GPIO13
    device_class: "POWER"
    state_class: "measurement"
    unit_of_measurement: 'W'
    accuracy_decimals: 0
    name: 'Leistung Solar'
    filters:
      - multiply: 6  # (60s/10000 pulses per kWh)
In the case of the avoidance sensor, there is a small variable resistor on it to adjust the sensitivity of the sensor. I lowered it just enough before the “obstacle sensed” LED lit, making it as sensitive as possible (since I don’t think the IR light in the meter is terribly bright). To ensure best signal strength, make sure to place the sensor directly over the IR LED of your meter.
Note that ESPhome mentions the addition of a sensor that also calculates the energy you produced – I suggest against that, as a power outage or other shenanigans could possibly mess with it. It’s by far easier to calculate this value directly in home assistant.
Configure the sensor and add helpers
If you set up your ESPhome sensor correctly, it should automatically be detected by Home Assistant and you can just add it as one of your devices. You’ll likely see something like this:
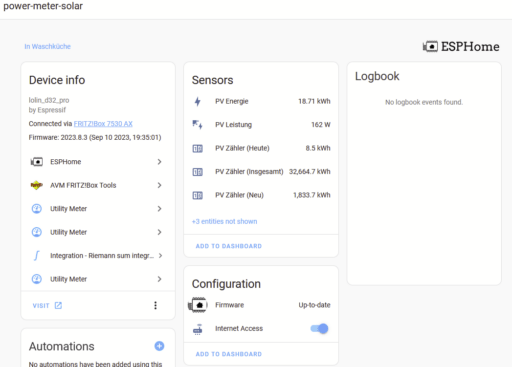

Now we only have the power of the solar panels. Next up, we want to know the actual energy produced by the panels. We do this by using simple mathematical integration. Go to /config/helpers and create an integration sensor. As a source sensor, you choose the power sensor provided by the sensor we built. This way you get the well-known value of kWh.
Bonus
Integration into the energy dashboard
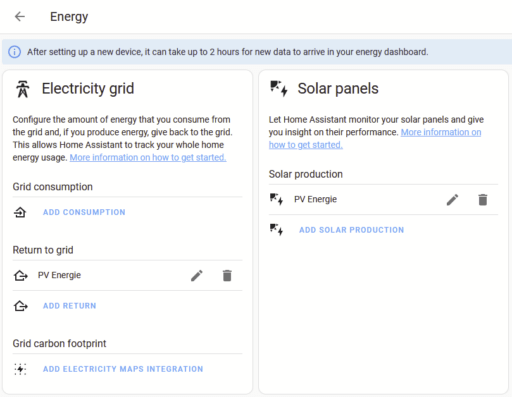
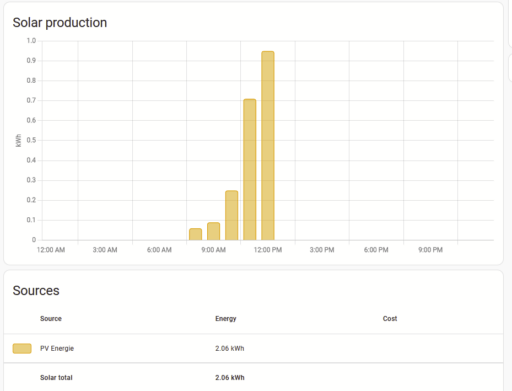
Now you go to your energy dashboard (/config/energy). There you can now add the newly created integration sensor (mine is a solar panel):
And presto! You have successfully added your meter to Home Assistant.
Utility Meters
Use the utility meter helpers to keep track of your electricity. You can also calibrate them, so their value corresponds to the actual meter you are using to read the values from!


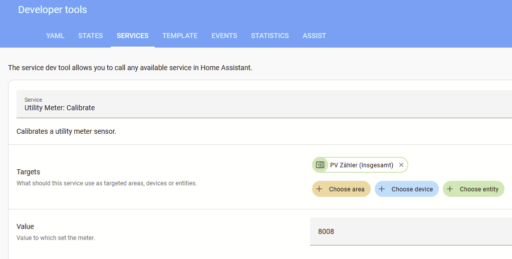
I’ve set up three meters. One that tracks the daily production (though technically redundant since the energy dashboard tracks that too), and one that corresponds to the actual meter in the basement. You can set the meter to have the same value as the one you are tracking by using the utility_meter.calibrate service:
Solar Forecasts
As an extra step, you can add solar forecast prediction to the energy panel:

The common method is to use Forecast.Solar, but they’ve gotten really stingy with their free API calls, and I’ve recently hit rate limits. Their prediction on the free tier is only for one day in the future and overall not terribly great.
As an alternative, I opted for solcast, for which an integration exists that you can add as a custom repository in HACS. This gives a much better forecast, even several days in advance!
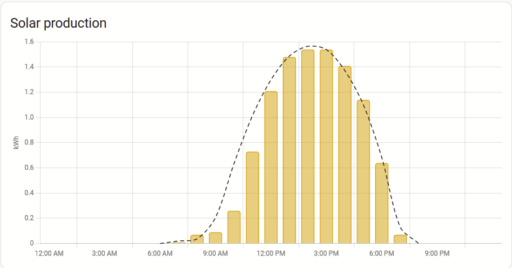
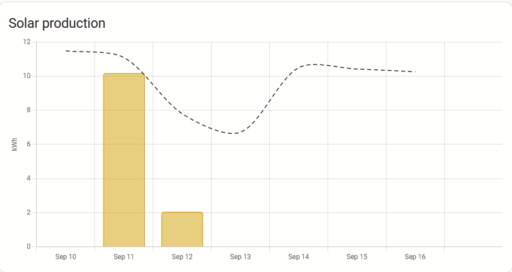
Solcast is also stingy with their API rates, capping at 10 a day. I made an automation that calls the API 8 times a day during sunlight hours, leaving 2 for debugging/troubleshooting purposes. . Here’s the automation:
alias: Solcast_update
description: New API call Solcast
trigger:
  - platform: template
    value_template: |-
      {% set nr = as_timestamp(state_attr('sun.sun','next_rising')) %}
      {% set ns = as_timestamp(state_attr('sun.sun','next_setting')) %}
      {% if nr > ns %}
        {% set nr = nr - 60*60*24 %}
      {% endif %}
      {% set hours_difference = (ns - nr) / 3600 %}
      {% set interval_hours = hours_difference / 8 %}
      {% set now_ts = as_timestamp(now()) %}
      {% set sunrise_ts = nr %}
      {% set sunset_ts = ns %}
      {% for i in range(8) %}
        {% set start_time = sunrise_ts + (i * interval_hours * 3600) %}
        {% set end_time = start_time + interval_hours * 3600 %}
        {% if start_time <= now_ts <= end_time %}
          true
        {% endif %}
      {% endfor %}
condition:
  - condition: sun
    before: sunset
    after: sunrise
action:
  - service: solcast_solar.update_forecasts
    data: {}
mode: single
Anyway, that’s mostly it. If you need any clarification, leave a comment or email me.
