When working on electronics projects, there will undoubtedly come a time when you want to take your project mobile. Choosing the right battery for your project is another whole can of worms by itself, as there are many variables to consider. How high does the voltage need to be? How many amps will be pulled at once? Are there weight or size restrictions? How many W/cm³ do I need?
A good bang-for-your-buck are 18650 cell based Li-Ion battery packs. The best part? You can make them yourself! You can even use scavenged cells in your DIY lithium-ion battery pack to save even more money!
Depending on how many of the cells you put in series and parallel, you can build a battery pack that should suit most of your needs.
Parts & Tools Required
Some of those are affiliate links. Just trying to recoup the hosting cost!
BOM
| Item | Amount | Buy |
|---|---|---|
| 18650 Li-Ion Cells | Varies | N/A |
| Battery Management System (BMS) | 1 | Amazon.de Amazon.com Banggood |
| 18650 Battery Spacers | # of Cells * 2 | Amazon.com Banggood |
| Nickel Strip (8 mm x 0.1 mm) | Varies | Amazon.com Banggood |
| Wire | Varies | Amazon.com Banggood |
| XT60 Connectors | 1 Pair | Amazon.com Banggood |
Tools
- Soldering Station / Spot Welder
- Wire Stripper/Cutter
- Hot Air Station / Hot Air Gun (alternatively, lighter)
- Multimeter
- Li-Ion Charger / Bench Power Supply
Determine your requirements
Voltage
Find out the voltage requirements of your project. Common voltages are 3.3V, 5V, 12V and 24V. A suitable approach is usually to choose a battery voltage that is equal or higher than the highest voltage requirement in your project. For lower voltages, you can simply use a DC-DC step-down module.
You reach the desired voltage with your battery pack by putting the 18650 cells in series. Each cell has ~3.7V, and the number of batteries in series is noted by the S in the XSXP battery name. Now simply multiply the voltage per cell until it reaches the desired voltage. Alternatively, you can also use this online calculator.
In my example, I used 3 cells in series, for a voltage of 11V.
Capacity
The capacity of the battery depends on the capacity of each 18650 cell and how many of them you run in parallel. A common cell capacity is about 2600 mAh. The total capacity of your battery pack will be the number of cells in parallel * the cell capacity.
I went with 3 cells in parallel, so I should have a theoretical maximum capacity of 5200 mAh.
Discharge Current
The maximum continuous discharge current depends on the cells themselves, as well as how many of them run in parallel. Make sure that your project does not exceed the current rating of your BMS or the cells themselves. Failure to do so can lead to catastrophic failure, and potentially a fire.
If you have a high current application, you might be better off with Li-Po battery packs.
BMS
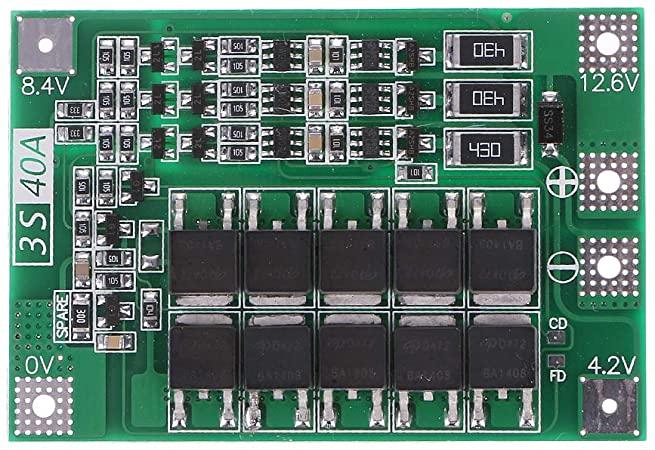
Picking the right BMS depends directly on your cell setup. You want to choose one that is rated for your requirements, and provides features such as cell balancing, over-current protection and others.
My pack is a 3S2P pack with the appropriate BMS ordered from Banggood.
Wire Gauge
Make sure to size your wires appropriately, to prevent unnecessary heat loss or worse, fire hazards. There are many handy calculators online that help you find the right wire gauge for your needs.
Sourcing the battery cells
Purchase Online
You can find various stores online selling 18650 battery cells in bulk. You can select the ones that fit your requirements and order them online. Beware of scams, though, as it’s not uncommon for shady sellers to sell counterfeit battery cells. These usually have far lower ratings than advertised, and could cause catastrophic failure if brought beyond their limits.
Scavenging
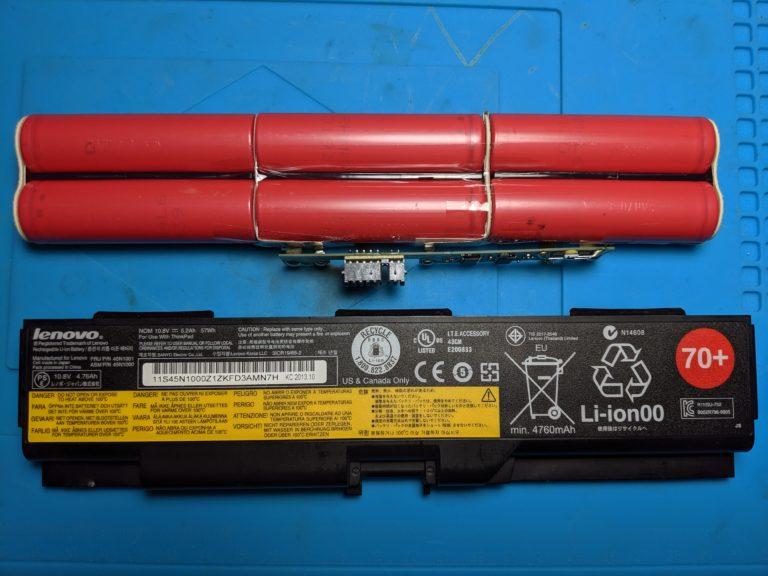
Then there is the alternative of scavenging 18650 battery cells that you might already have lying around. Chances are that you do! A common source of these cells are laptop battery packs and battery packs meant for power tools. It’s likely that even failed battery packs still have plenty of reusable cells inside. Have a look at my article on how to harvest Lithium-Ion cells from old batteries!
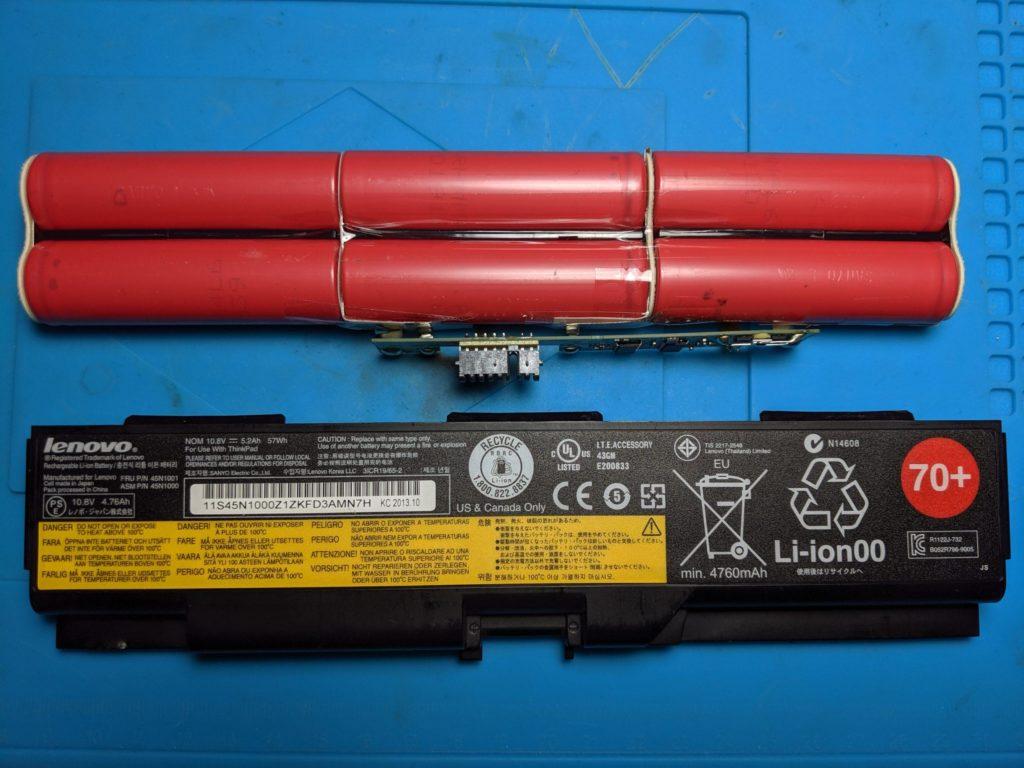
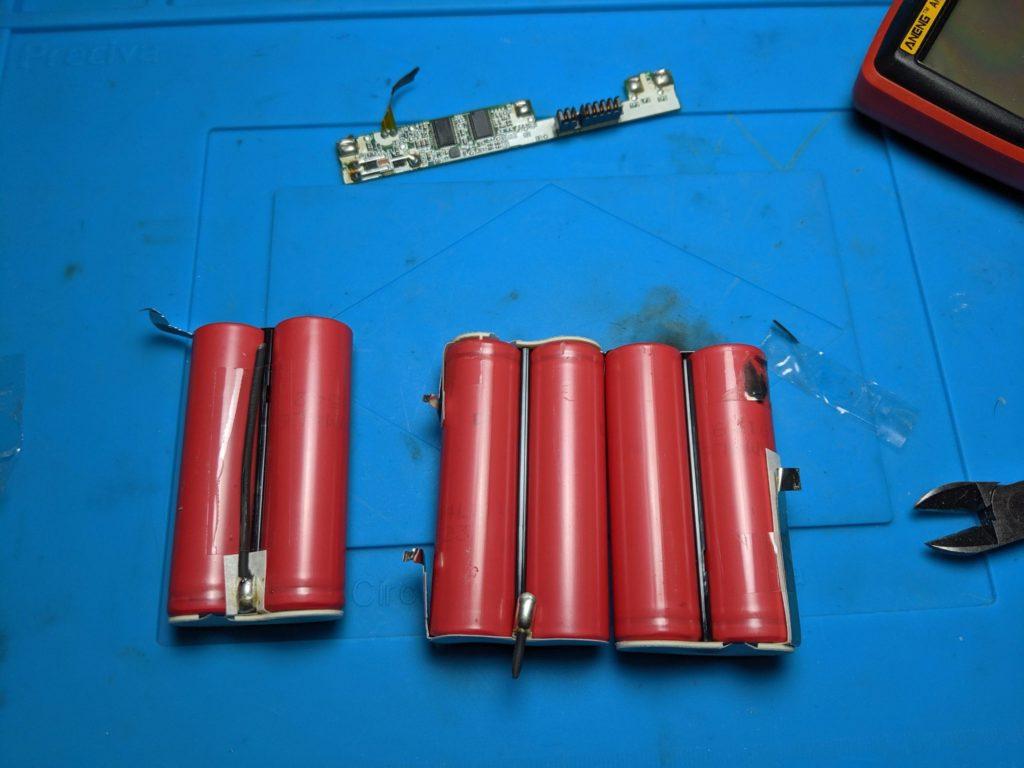
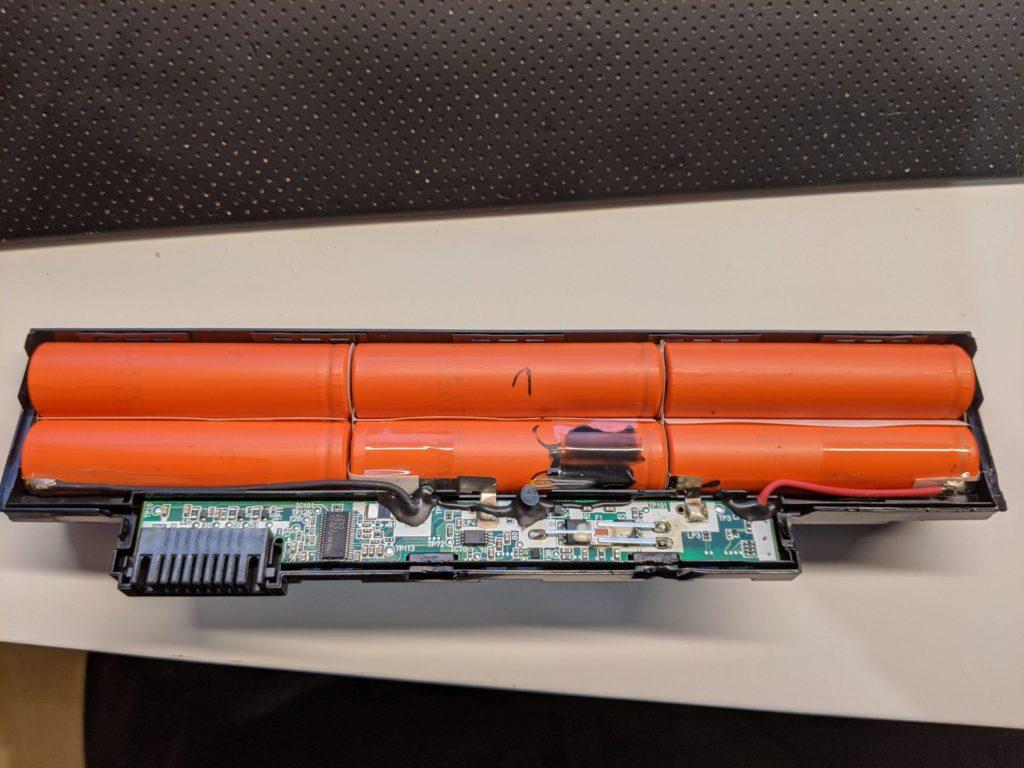
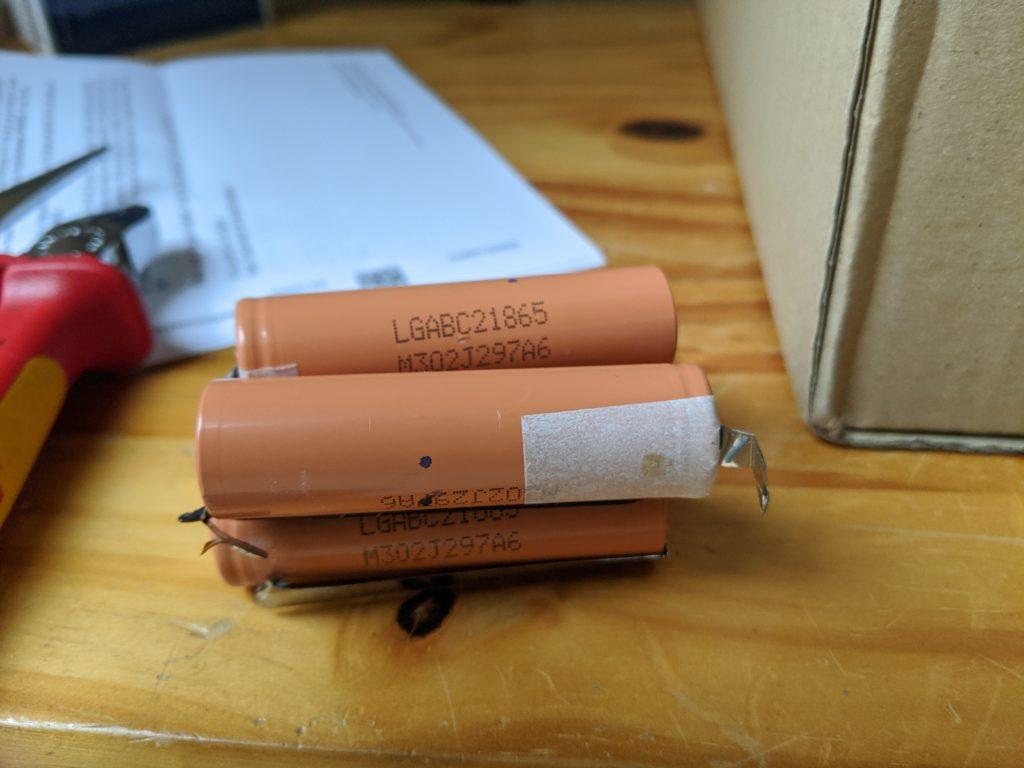
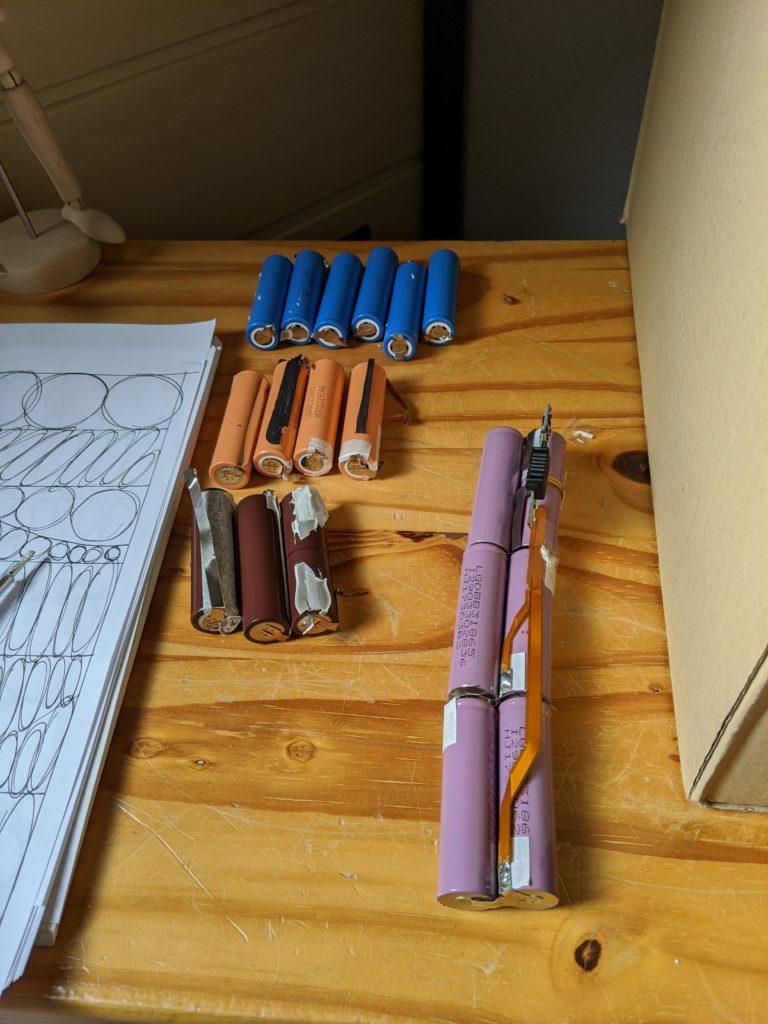
Personally, this appeals to the maker in me, and also allows extending the use of battery cells that still have plenty of life left and aren’t ripe for the dump yet. However, it doesn’t come without its drawbacks. Removing the cells can be tricky, and you could damage the cells (and yourself) if you’re not careful.
Assembly
Insert Cells
First, you need to arrange the battery brackets in a fashion that allows you to solder the nickel strip to the positive and negative terminals as required.
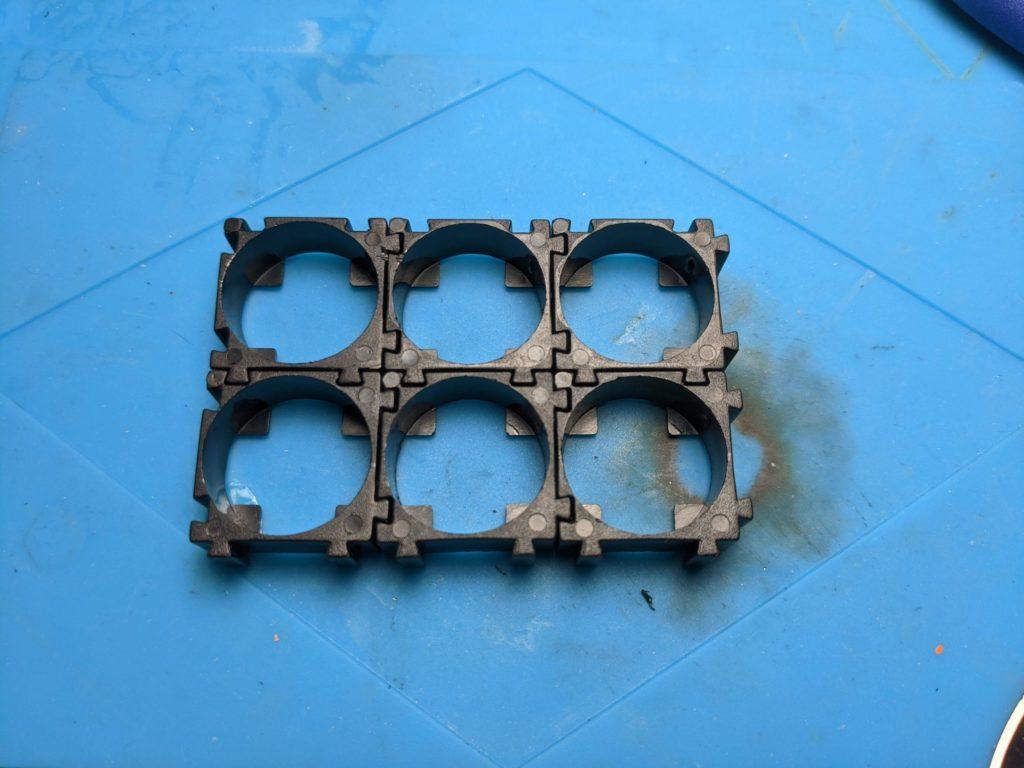
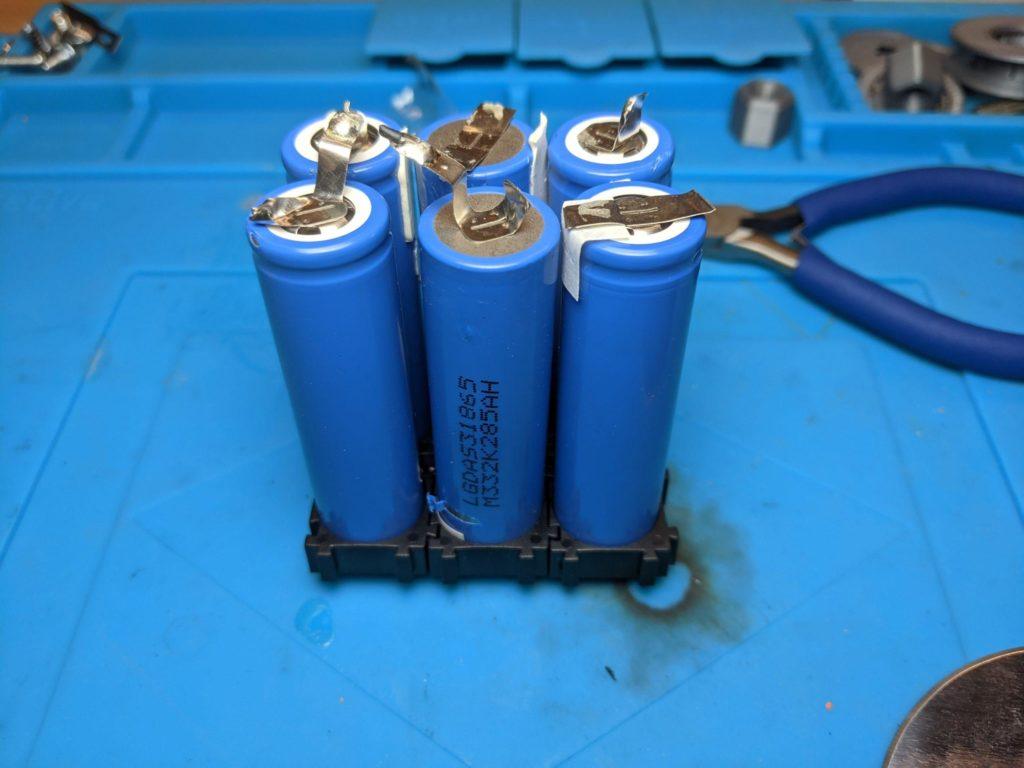
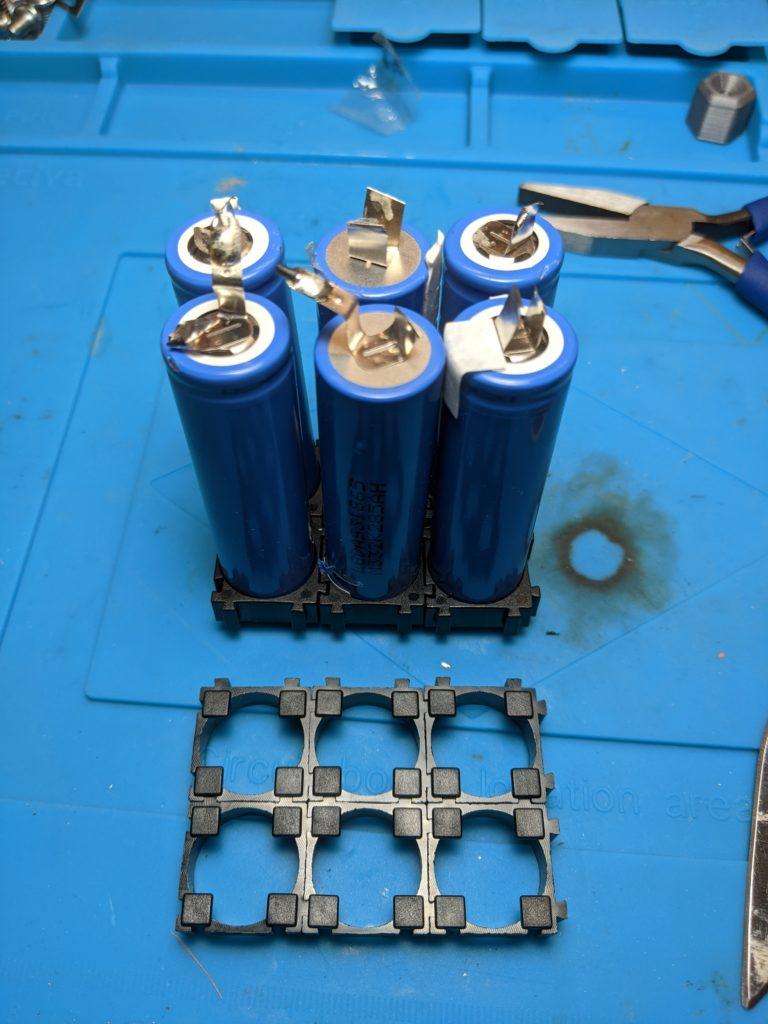
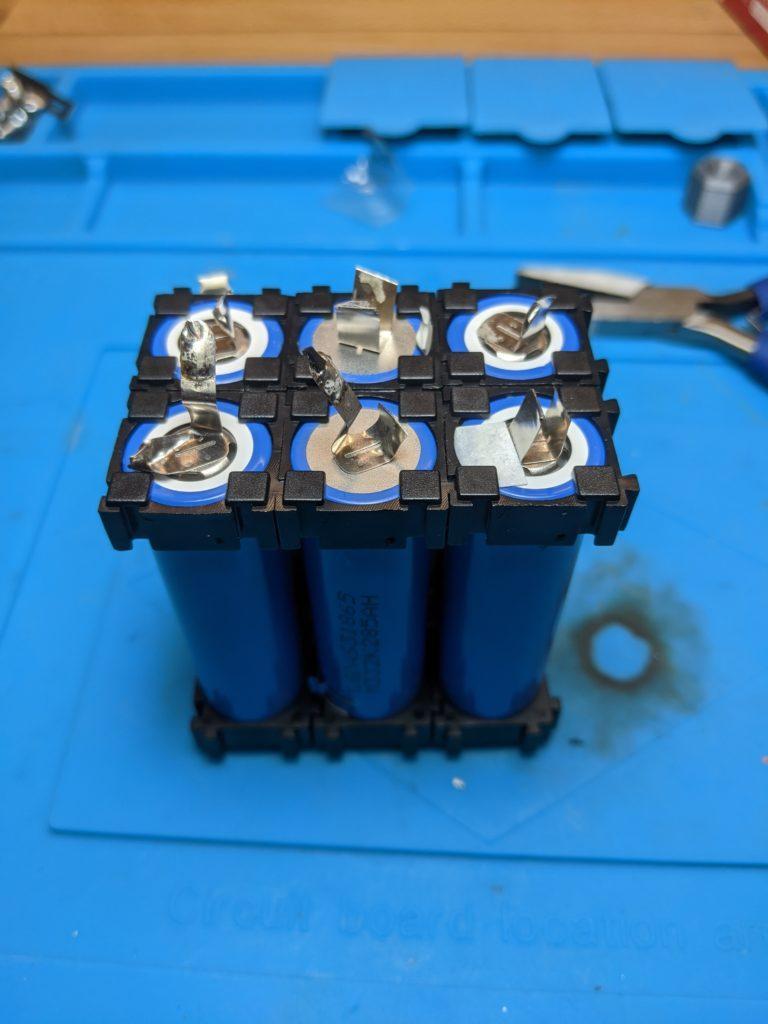
In the gallery, I re-used scavenged batteries that had some remains of nickel strips still attached.
Solder/Weld the connections
Important! Make sure the cells have a similar charge before connecting them in parallel. Otherwise, there will be a high current flow between the batteries, which could result in damage or even fire. Ideally, the cells should be between 3.5–3.7 V.
Unless you’re regularly building your own battery packs, chances are you don’t have a spot-welder on hand. Well, neither do I. Soldering the nickel strips to the terminals is frowned upon because it exposes the cells to large amounts of heat, causing degradation.
Well, you have to work with the tools you got. Soldering the nickel strips isn’t pretty, but it gets the job done. If you use batteries that already have tabs attached, you can try soldering the nickel strips to those instead. This reduces the heat the cells are exposed to.
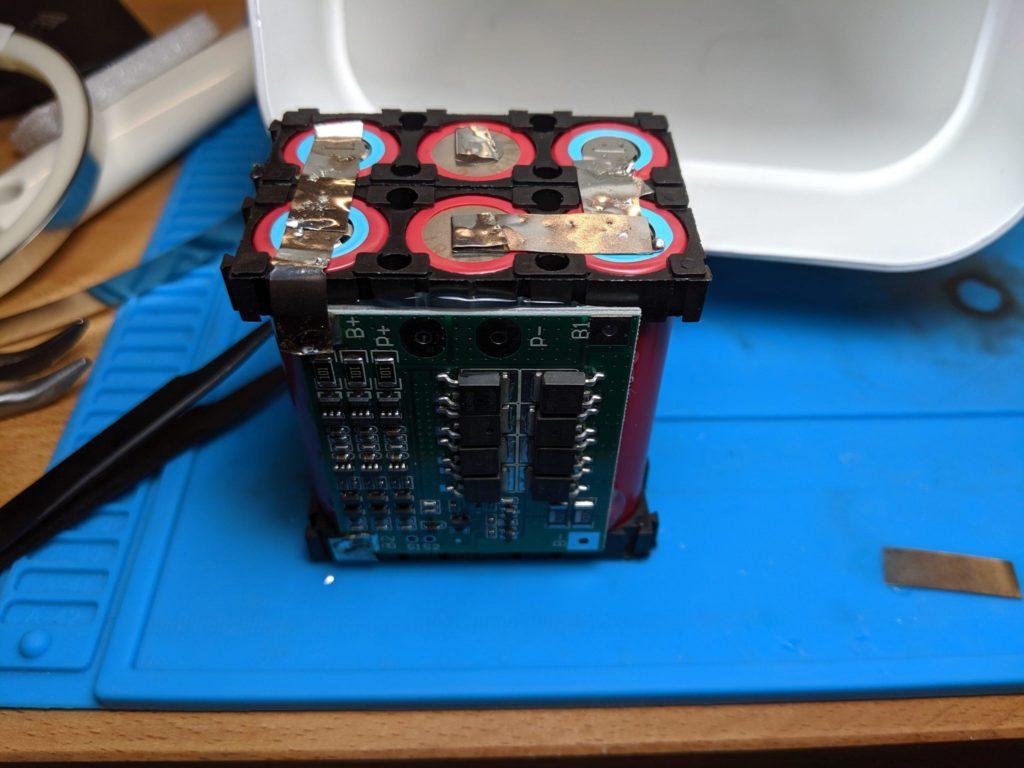
If you correctly inserted the battery cells into the frames, it should now be clear how to solder them together. Take the nickel strips and solder them appropriate to your cell arrangement. Make sure to leave a few extra cm of the nickel strip on the side where you want to attach your BMS.
Add the BMS
Time to add the BMS! Chances are the BMS is already designed to be used in a battery pack. Check the wiring diagram of your BMS and attach it to your battery pack. I used some hot-glue to stick it in place.
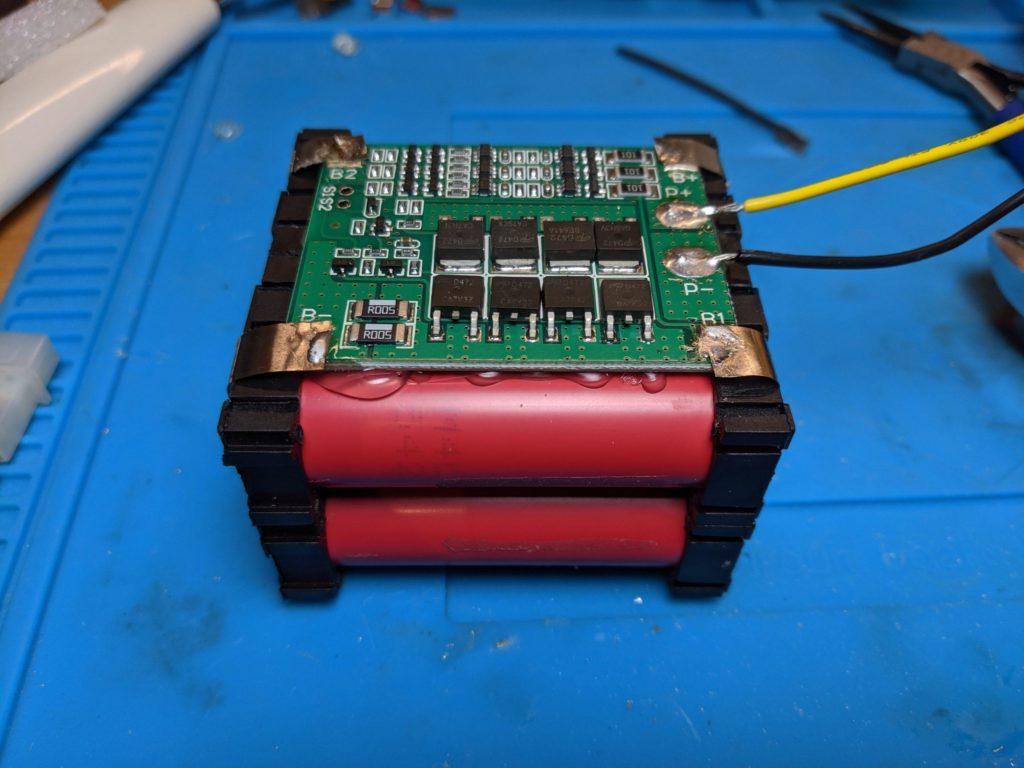
Wire the BMS
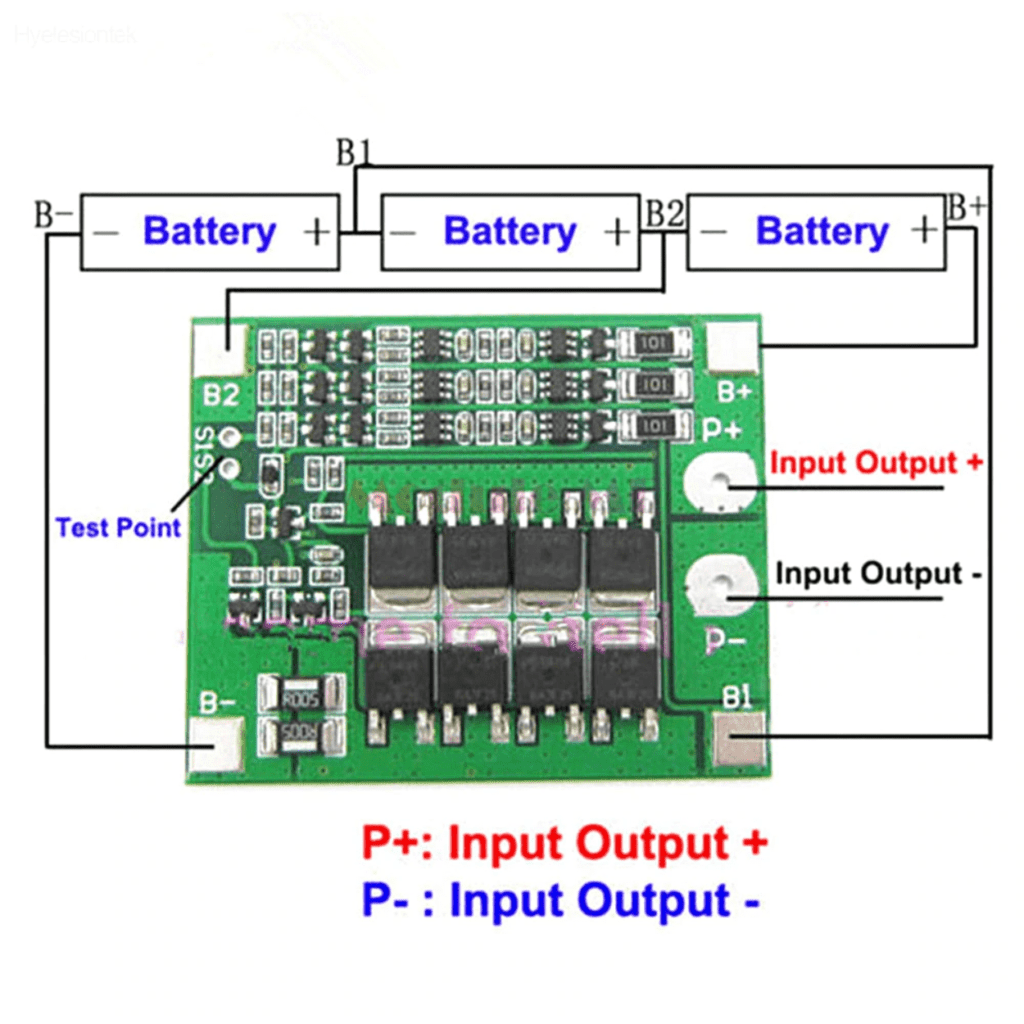
Attach the nickel strips and connect them to the nickel strips on the battery terminals as shown in your BMS wiring diagram. In the image below is an example based on the BMS used for my 3S2P battery pack.
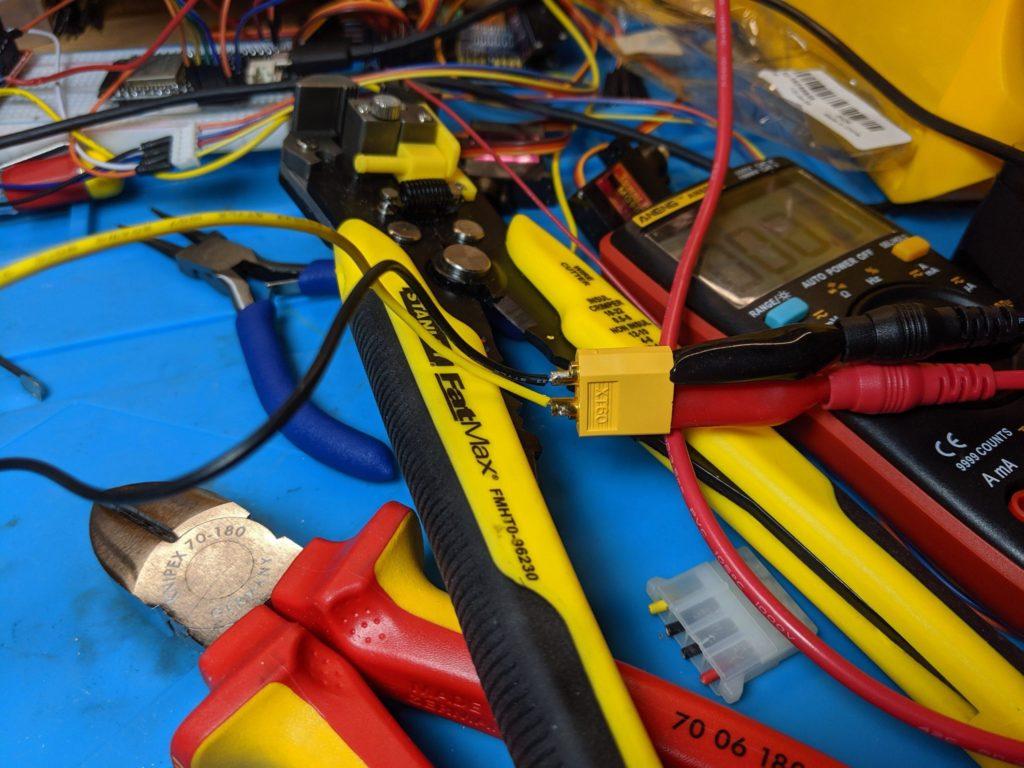
Attach two wires which will be your battery leads to the P+ and P- terminals. Make sure the wire gauge is rated for the maximum current you expect your battery to handle. I suggest also using XT wire terminals, to make attaching the battery to your projects easier. The number after the XT letters stands for the maximum current they’re rated for.
Wrap the batteries
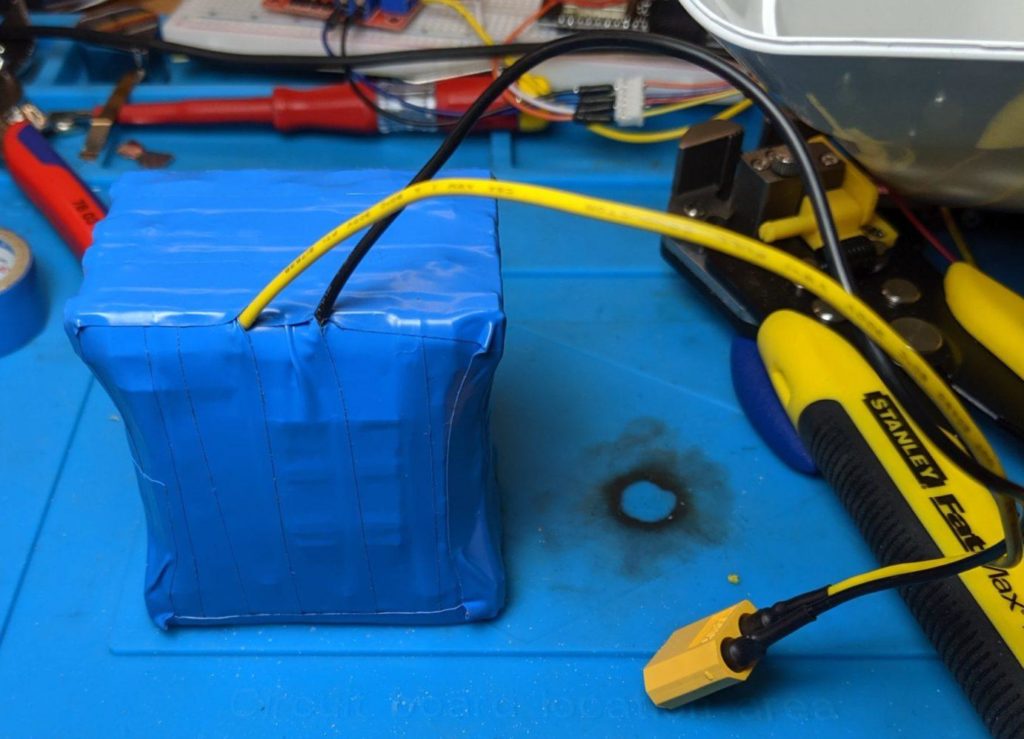
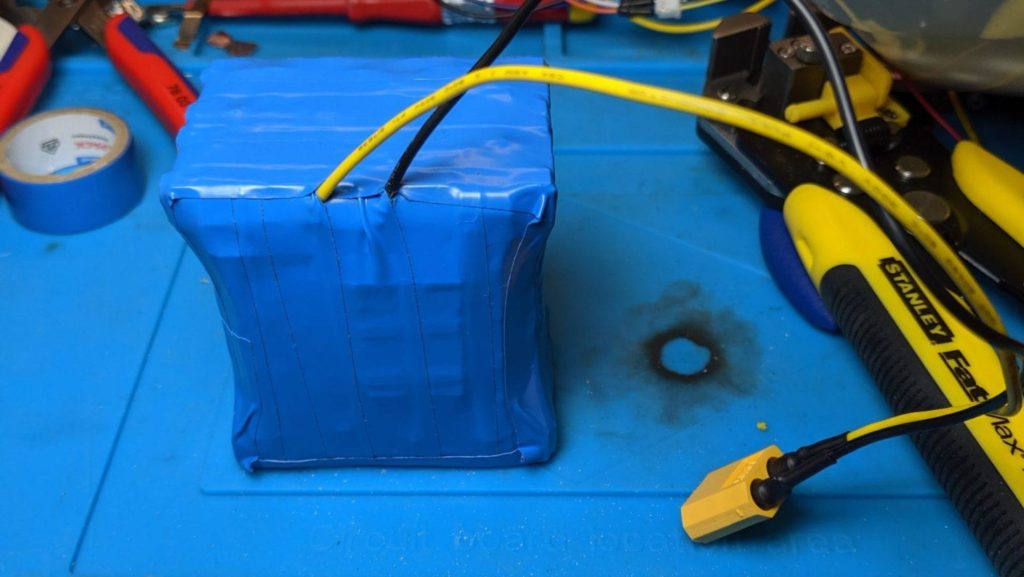
For the finishing touch, you might want to wrap your battery pack. I used wire insulation tape to create a makeshift wrap. In hindsight, I don’t recommend it because the adhesive seems to degrade over time. Ideally, you’d want heat shrink wrap, but I found the ones with the necessary size too expensive for my taste. It might be worth experimenting with other wrapping techniques to protect the cells and BMS from damage.
Charge
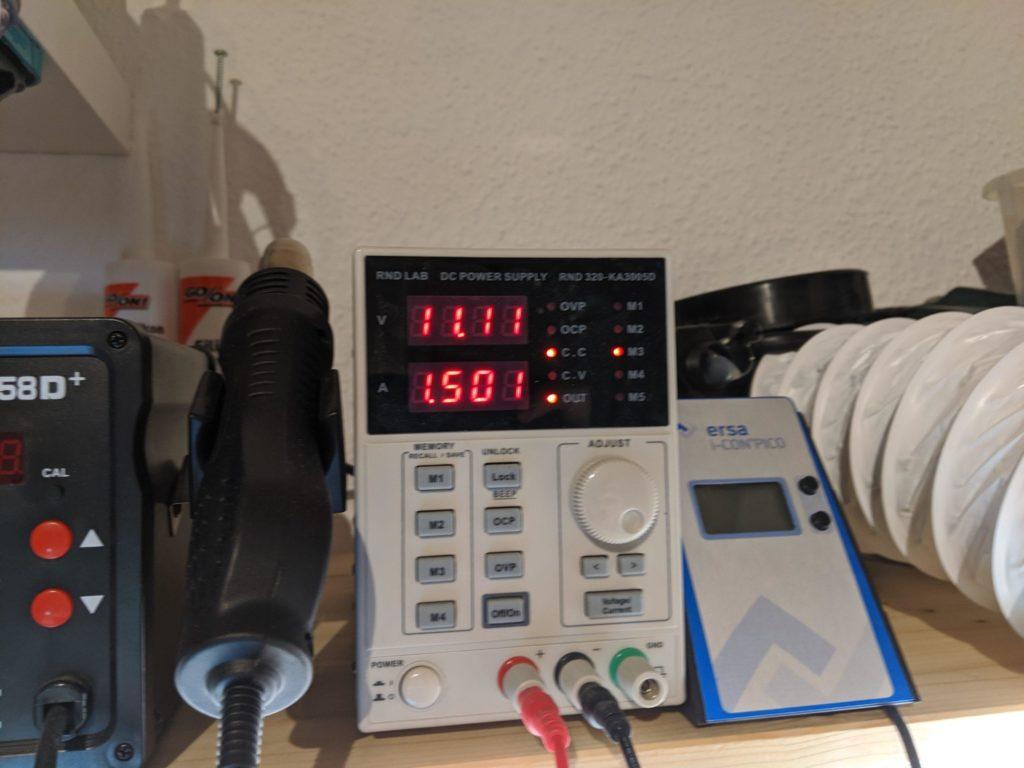
Time to charge the battery pack! I used my bench power supply and configured it with the appropriate maximum charging current and voltage settings. These depend on the cells used in your battery pack, as well as the BMS used. Check the specification sheets of both to make sure which settings to use!
Caution! Charging Lithium-Ion batteries should only be done with an appropriate charging device. Only use a bench power supply or other means if you really know what you are doing. Using the wrong type of charger can cause damage and possibly a fire hazard!
You might want to invest in an appropriate Li-ion battery charger instead.
Conclusion
If everything worked out as expected, you should now have a complete and charged battery pack, ready to be used in a project of your choice! The steps described above should work for most other battery configurations.
If this is more than a one-off for you, it might be worth checking into getting a battery spot-welder. There are various options out there, from €20 Chinesium boards to several thousand € professional machines. An open-source, DIY alternative is the kWeld spot-welder from keenlabs.
