I’ve nearly completed the first semester of my two-semester CAD course at my university, and now for the first time have started to feel comfortable enough to use these newly acquired skills to design things that have a real-life application. That is how a 3D printed Kärcher SC3 Power Cable Holder became my very first functional CAD and print.
The Problem
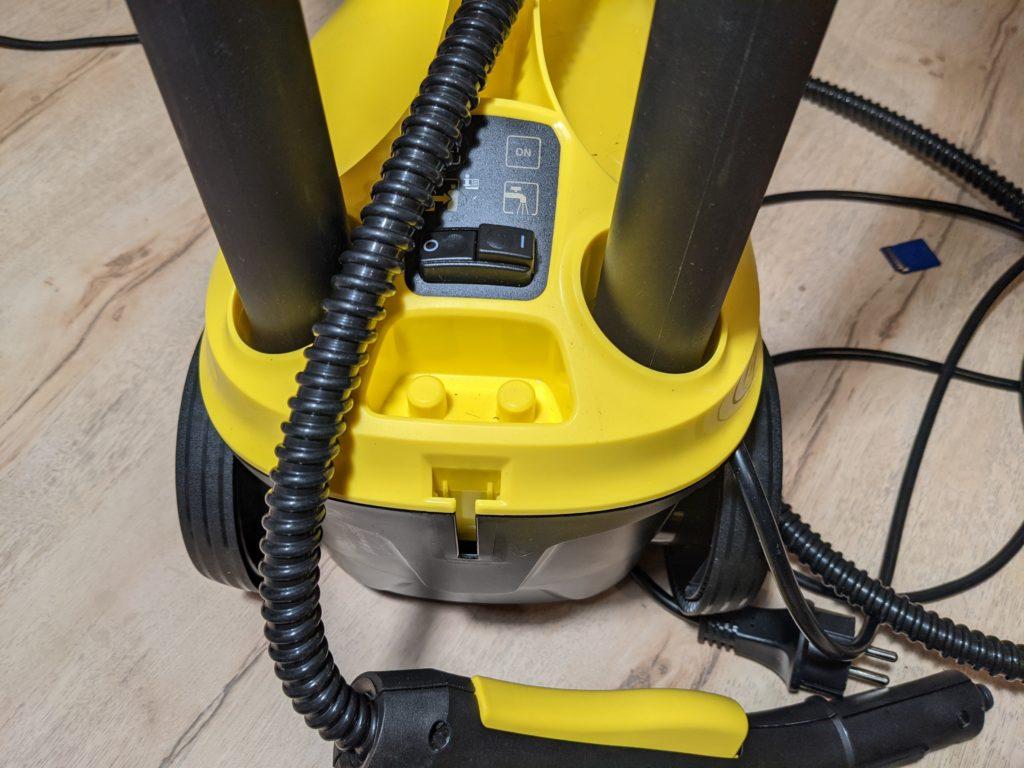
My parents own a Kärcher SC3 EasyFix steam cleaner, and one of her most common complaints was the inability to store the power cable of it satisfyingly. The cable would dangle around when carrying the device and be an overall nuisance. I mulled the problem over in my head somewhat, starting as to where one could even securely attach an accessory to an object that consists of smooth, curved plastic surfaces.
The Design
Luckily, the device comes with a little indentation to store some accessory brushes. I took measure of the indentation using digital calipers and used it as my starting point for my design. As part of my university subscription, I have access to Autodesk’s Inventor CAD software suite, which is also the software the course is based on. It was the first time I exported a design from it to .stl and imported it into PrusaSlicer. The process, however, was very straight-forward and caused little trouble.
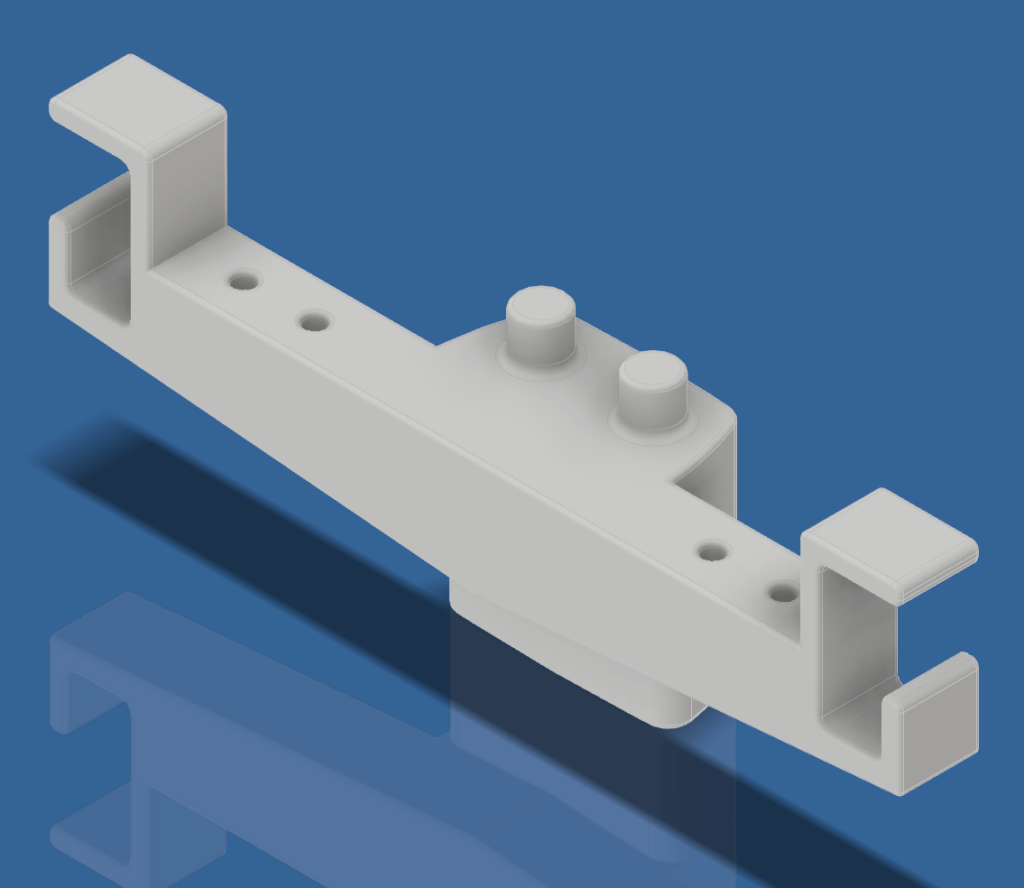
My first attempt was to simply design a plug that is basically like a Kärcher Lego brick. A proof of concept of sorts. I immediately went and printed one full-size… only to discover that my measurements were ever so slightly off, and it wouldn’t fit.
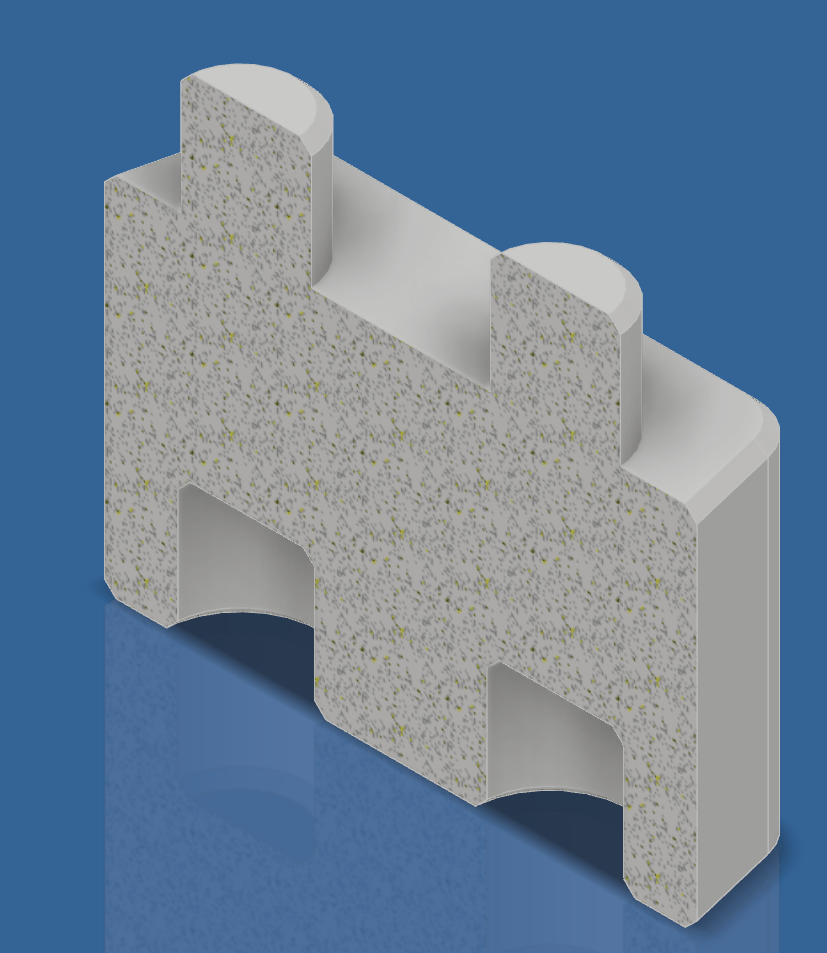
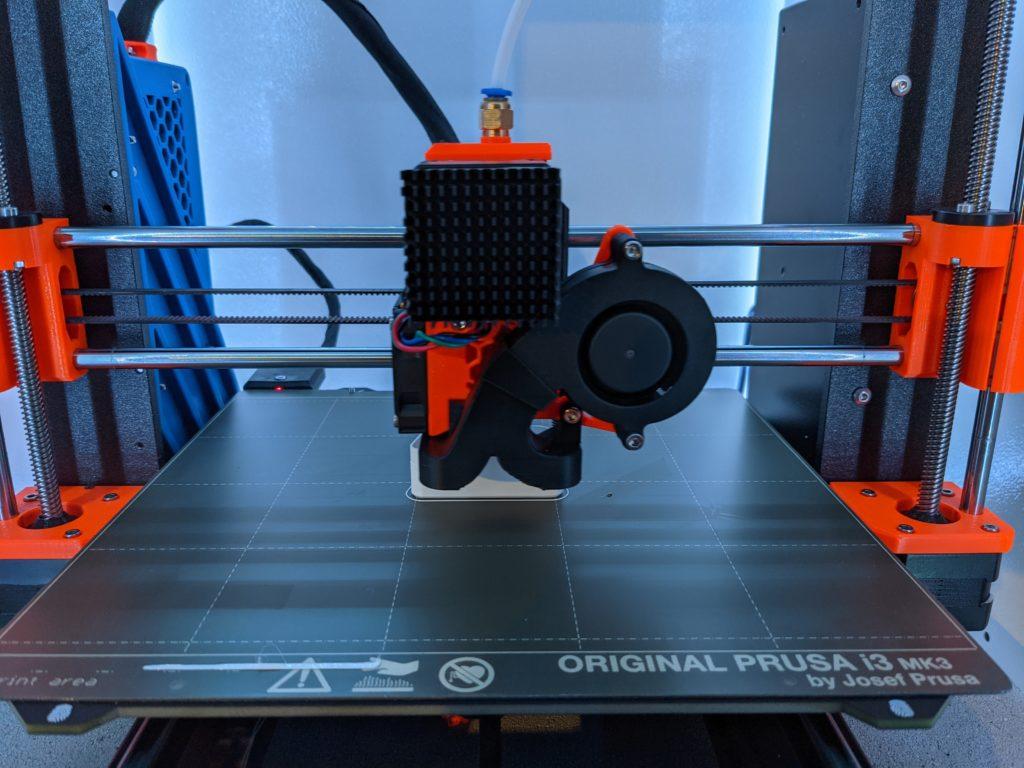
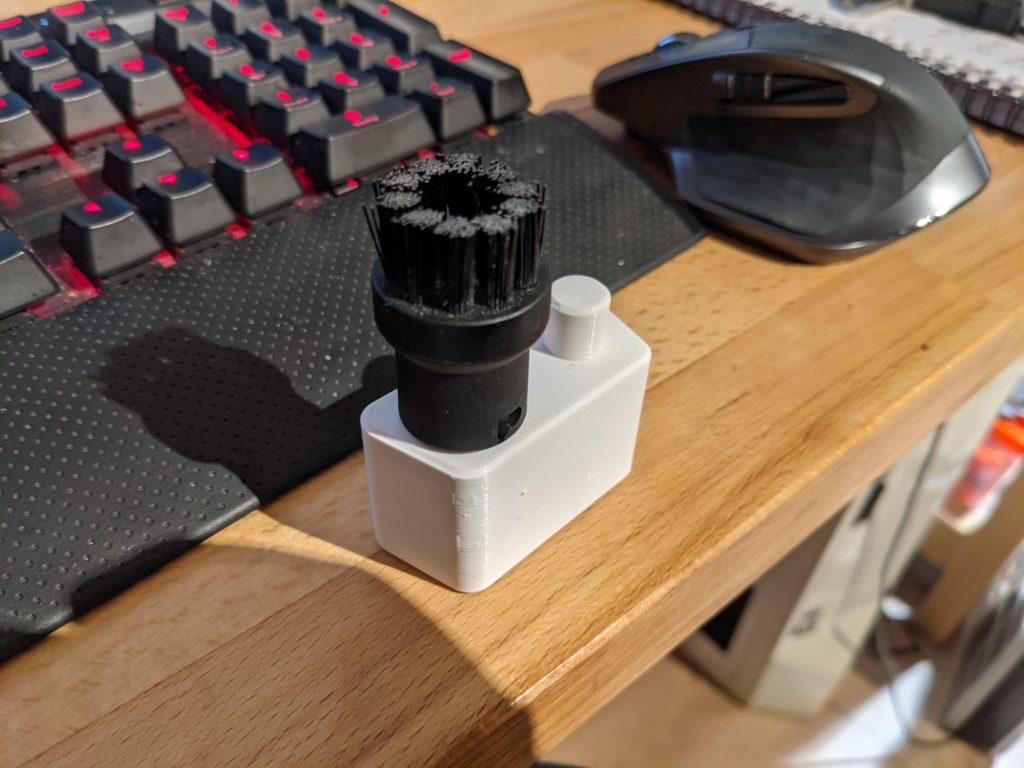
Still! The brush accessory fit onto the plug, so I continued on my design. Instead of printing the entire assembly, I started using PrusaSlicer to slice parts that needed to fit precisely into 1 mm thick slices that allowed me to measure them on the real-life example. This allowed me to iterate on the design far quicker and saved me a lot of material.
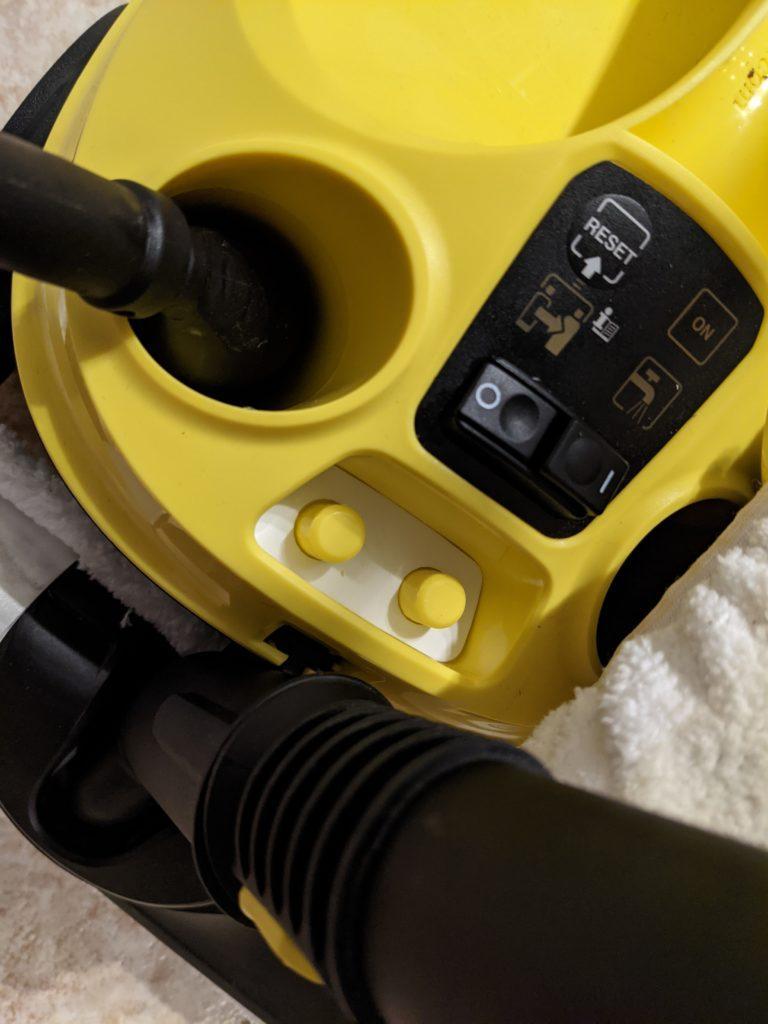
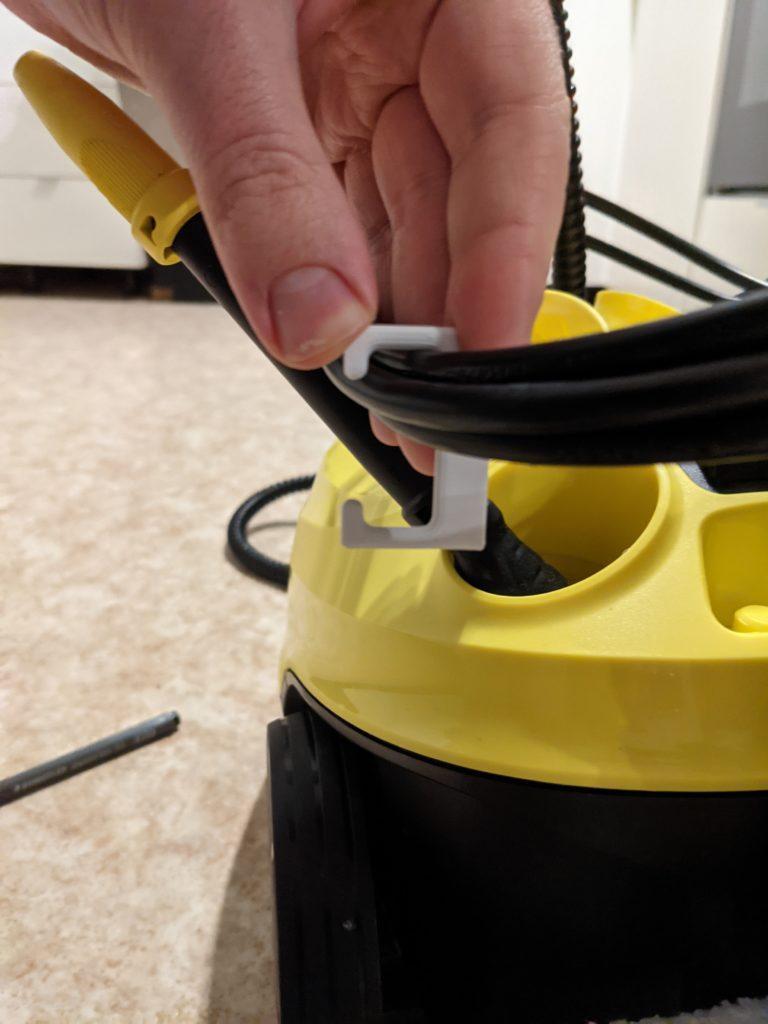
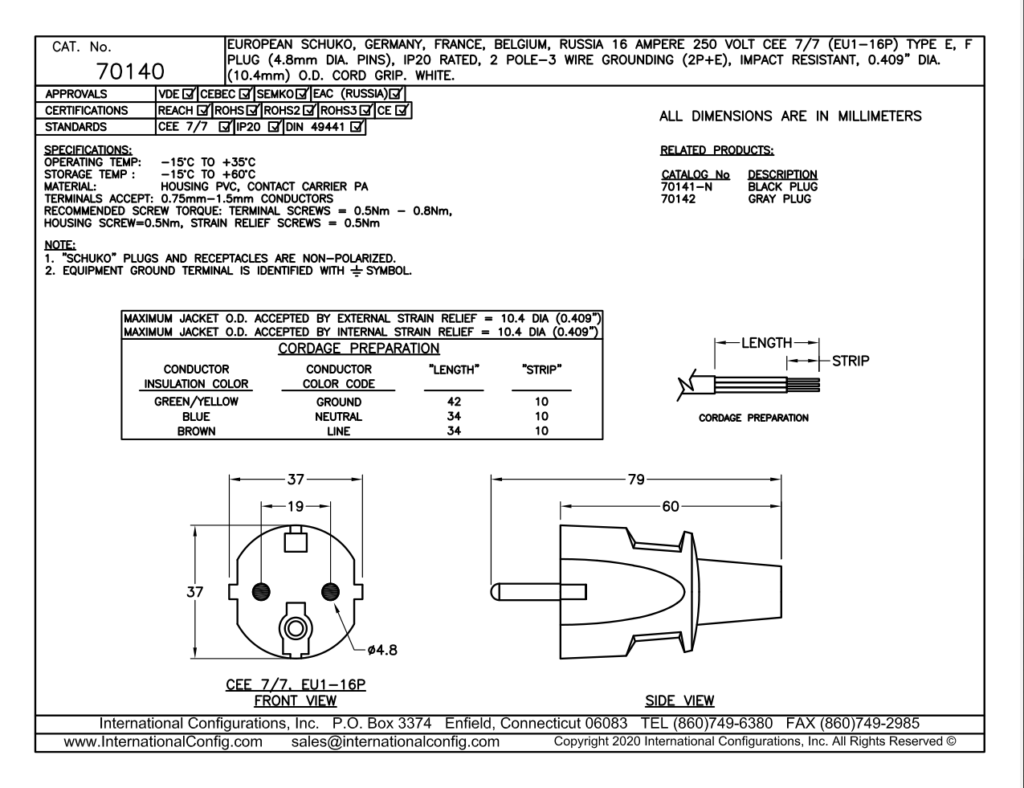
One final addition was plug holes for the Schuko F type power plug. This is a feature I’ve seen a few times on other products, and I’ve always enjoyed its simplicity and practicality. It simply consists of two holes, 5 mm in diameter and spaced 19 mm apart, where one can plug in the power plug after coiling up the power cable.
The Result
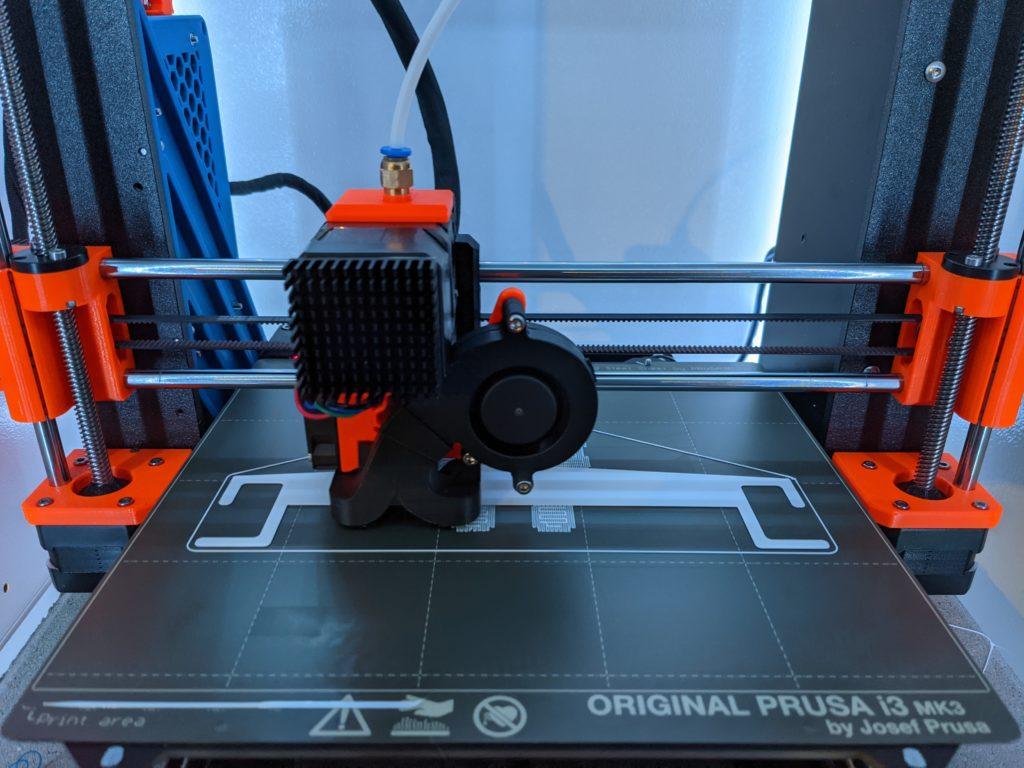
I let the print run through the night, and first thing in the morning was to test if it fit — and it did! The initial planning paid off, as it almost does perfectly what I intended it for. There are a few things I’ll probably modify in future iterations. For one thing, I want to make it lighter, and thus reduce the printing time and overall used plastic. Then I would also like to reduce the protrusion towards the back to make the use of the in-built attachment plug of the steam cleaner easier. And lastly, I would like to add additional holders for more accessories apart from the small brushes.
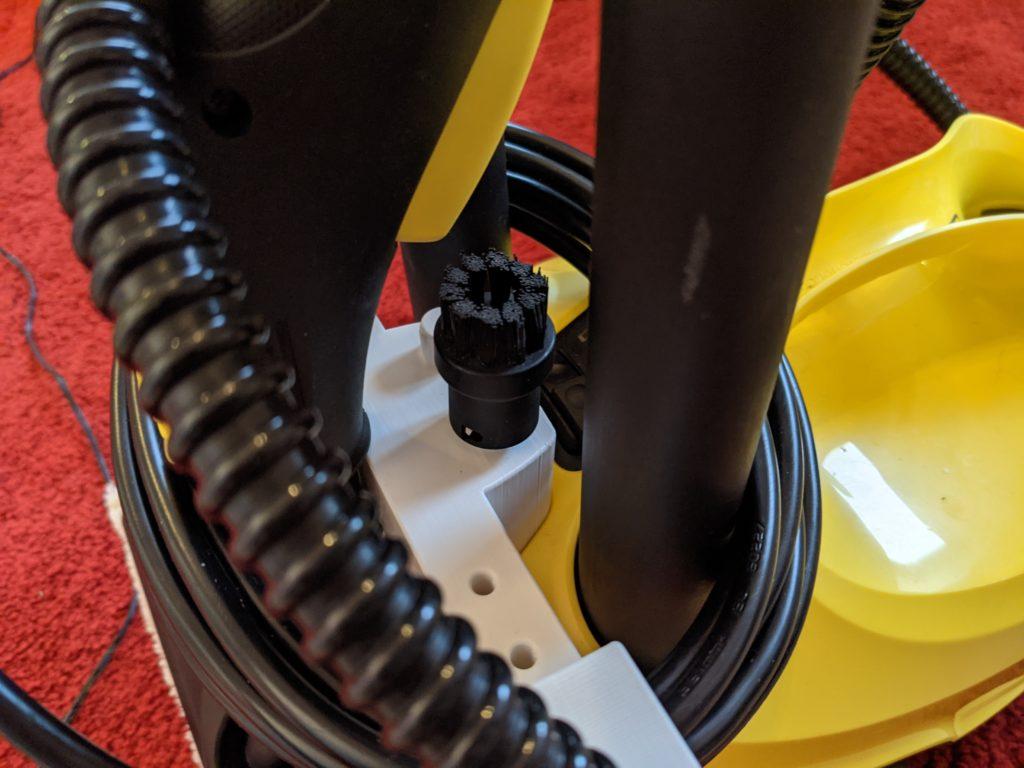
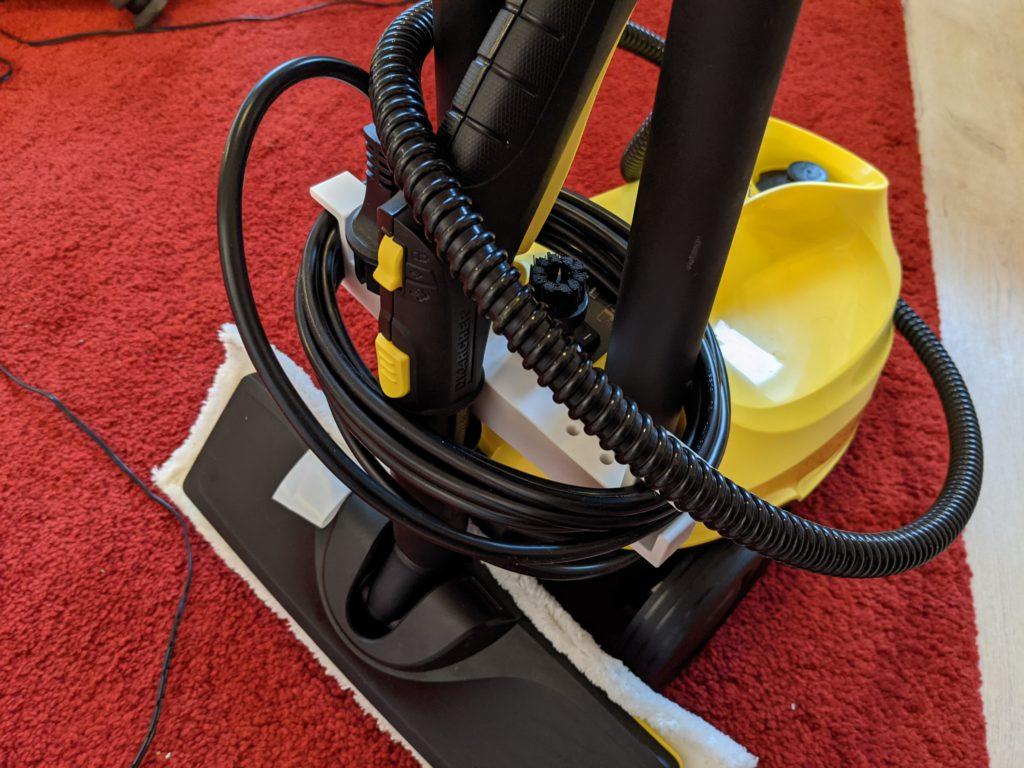
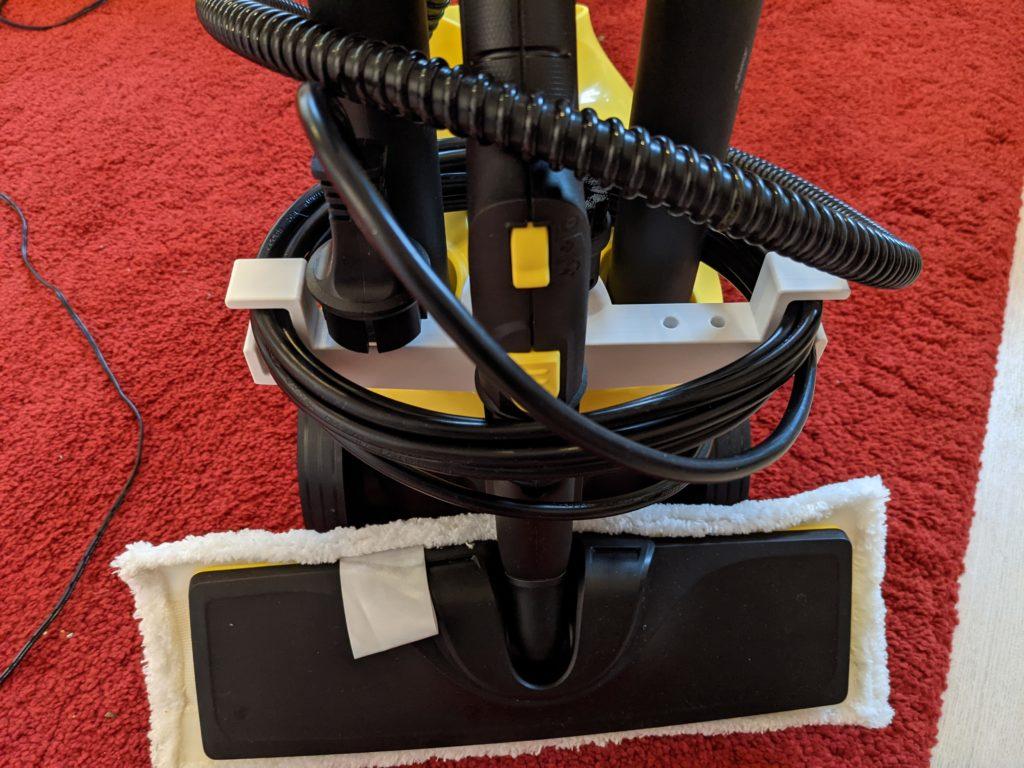
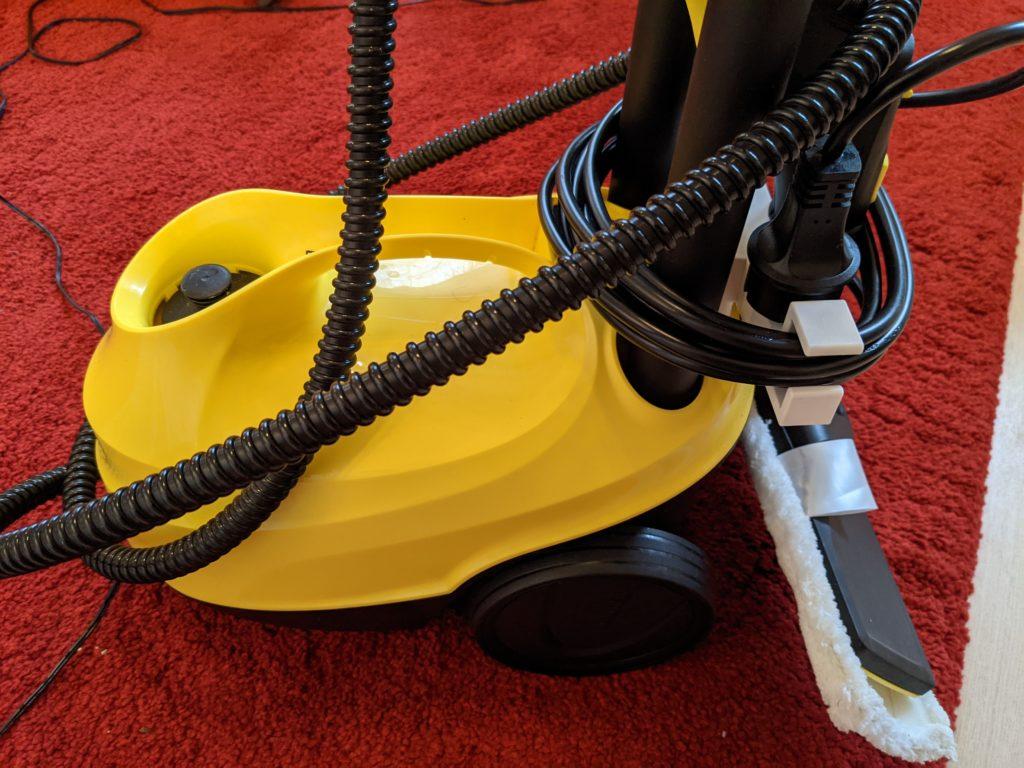
I’ve uploaded the .stl to PrusaPrinters.org, using the Creative Commons CC-BY-SA licence, and is available for anyone to print themselves. Since it is not exposed to any of the heat by the steam cleaner, printing it in simple PLA should suffice. I hope this is the first of many more little functional prints that I can design myself. Overall, it only took me a few hours of tinkering and a few grams of filament. I’m very excited about many more future CADs.
